Save
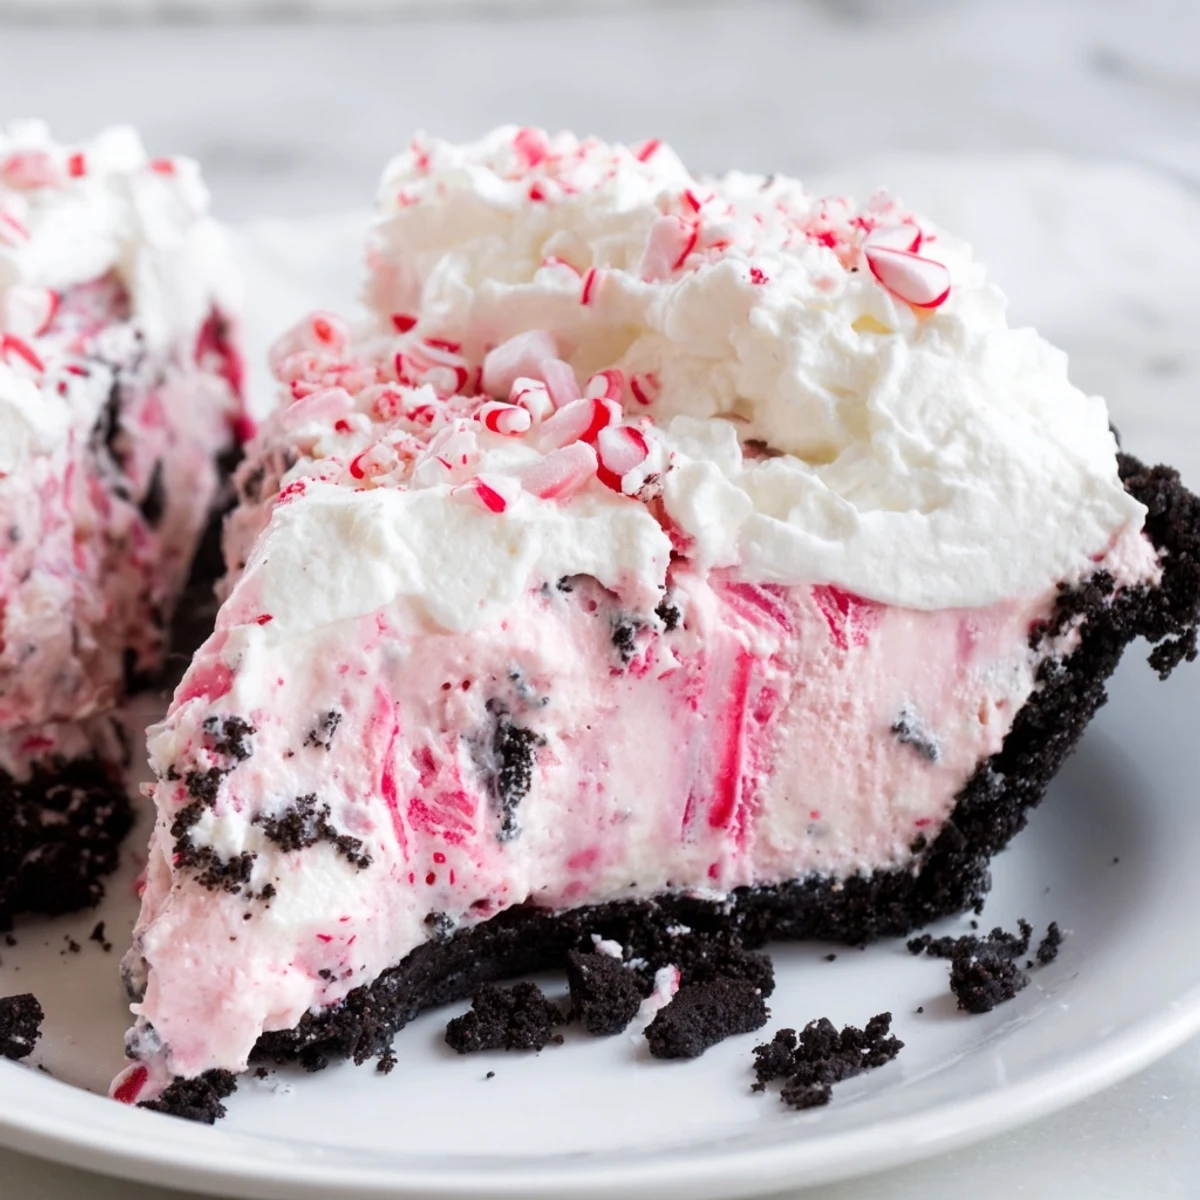
Save This no-bake candy cane pie starts with a pressed chocolate cookie crust chilled to firm up. The filling combines whipped heavy cream and smooth cream cheese, sweetened with powdered sugar and brightened with peppermint; mini marshmallows and crushed candy canes are folded in gently to preserve texture. Spoon into the crust and refrigerate at least 4 hours until set, then top with whipped cream and extra crushed peppermint. Reduce extract for a milder flavor and use gluten-free cookies if needed.
A blizzard of peppermint scented the air as I first tried making Candy Cane Pie, right in the middle of a spontaneous holiday baking session. The radio was playing old jazz, my windows frosted at the corners, and every time I crushed candy canes, it felt like the kitchen was dressed up for December. There's something disarmingly cheerful about a no-bake pie that looks and tastes like Christmas itself. Suddenly, laughter and pink whipped filling felt as essential as the peppermint candies themselves.
The first time I carried this pie to a friend's Secret Santa party, my gloves were dotted with pink food coloring and I worried I'd made a mess. The pie got passed around so quickly that chatter began about who'd get the last slice. Someone even snuck in a spoonful before dinner was served; that memory still makes me grin.
Ingredients
- Chocolate cookie crumbs: Go for super fine consistency so your crust holds together and doesn’t turn soggy—pulse cookies in a food processor for best results.
- Unsalted butter: Melt gently so it combines smoothly with the crumbs and gives the perfect cookie base without greasiness.
- Heavy whipping cream: Make sure it's ice-cold so it whips up into clouds and won’t deflate your filling.
- Cream cheese: Soften beforehand to avoid lumps—a quick ten seconds in the microwave works wonders when you’re short on time.
- Powdered sugar: Sifts in for sweetness and the smoothest texture (big clumps make stirring tricky).
- Vanilla extract: A dash makes the peppermint feel warmer and more balanced, not too sharp.
- Peppermint extract: Just a little goes a long way—too much and you’ll think you’re brushing your teeth at dessert!
- Mini marshmallows: These melt slightly and add just enough chew in each bite—it's nostalgic and playful.
- Crushed candy canes: Save some extra for the topping and break them up by hand for big crunchy bits.
- Red food coloring (optional): Use a drop or two for blush-pink swirls that turn every slice festive.
- Whipped cream (for topping): Dollop it on just before serving so the cloud-like texture stays perfect.
- Extra crushed candy canes: Garnish at the very last minute to keep the pieces sparkling and crisp.
Instructions
- Build the crust:
- Stir the chocolate crumbs and melted butter in a medium bowl, then press firmly into the bottom and up the sides of your 9-inch pie dish using your hands or the flat of a glass.
- Whip the cream:
- Use a chilled bowl and beaters, and mix until stiff peaks form—that’s when the whisk leaves a deep trail and the cream stands tall.
- Blend the flavors:
- Cream together the softened cream cheese, powdered sugar, vanilla, and peppermint until silky smooth; a few minutes make all the difference for that dreamy texture.
- Make it festive:
- Gently fold the whipped cream, marshmallows, and most of the crushed candy canes into the cream cheese mixture—swirl in red food coloring now for a cheerful pink effect.
- Fill and chill:
- Spoon the mixture into the chilled crust, smoothing the top with a spatula, and cover; let it set in the fridge for at least four hours until it holds its shape like a proper pie.
- Add the sparkle:
- Just before serving, crown with lashings of whipped cream and a generous sprinkle of extra candy canes for maximum holiday sparkle.
 Save
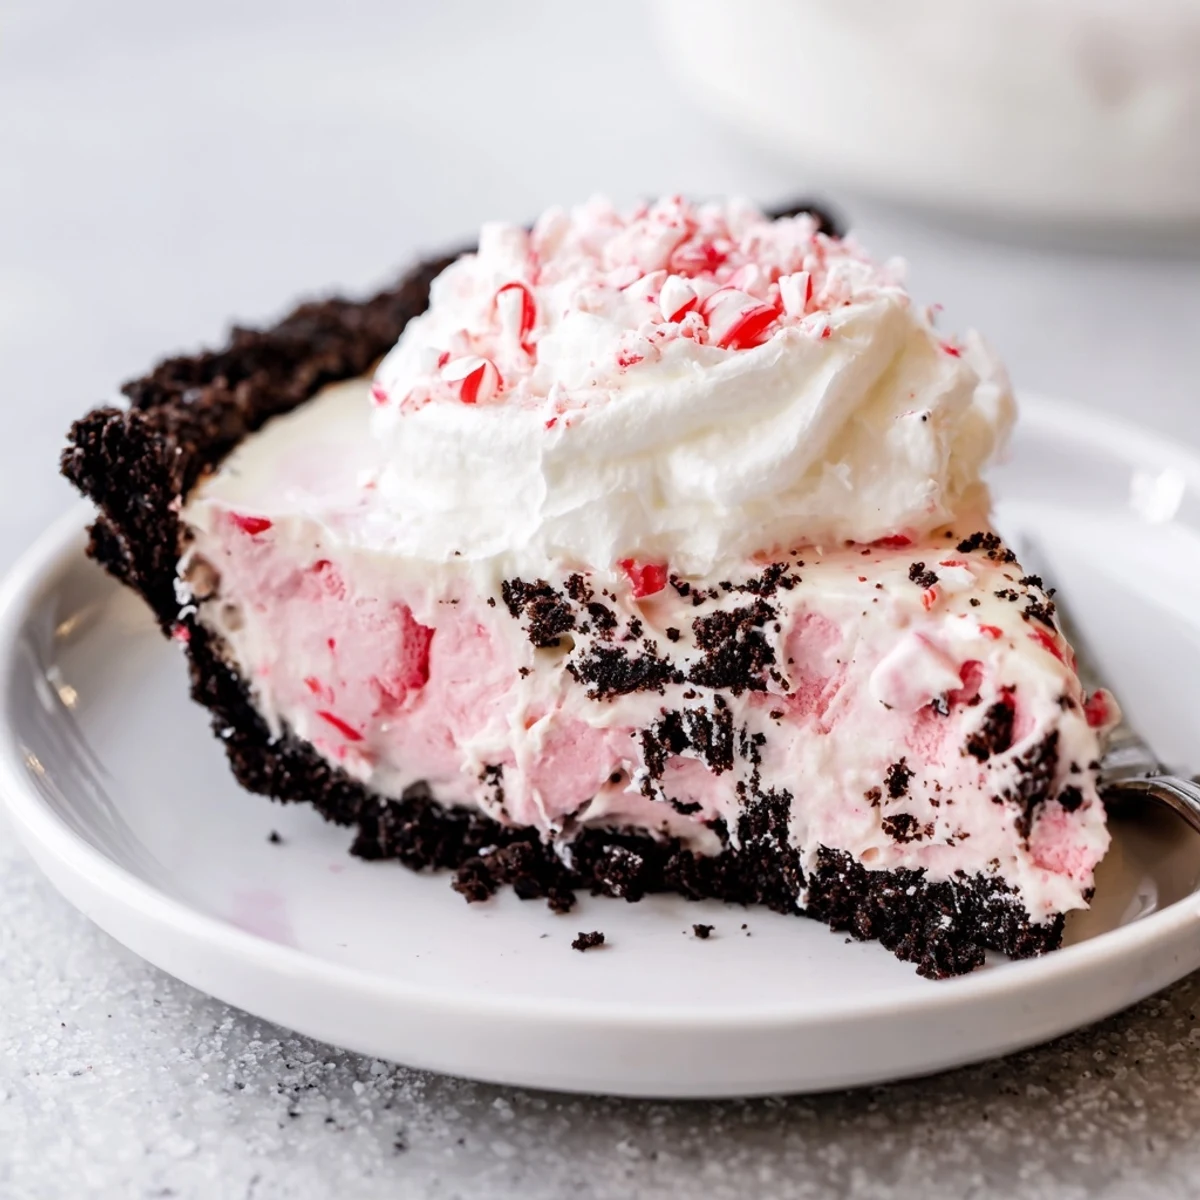
Save When the whole table grew quiet for that first cool, minty bite—with flecks of red candy shimmering in the soft light—I realized this pie had become an instant tradition. In those shared smiles, it was clear: this was more than just a festive dessert.
Mastering the No-Bake Magic
Leaving the oven off makes this pie a stress-free project, especially when you’re juggling a full holiday menu. Even kids can help swirl in the coloring or scatter candy cane bits (a little kitchen chaos is half the fun!). I've noticed that using a metal pie dish chills everything faster and firms up the crust for cleaner slices.
Perfect Peppermint Swirl Every Time
Swirl in food coloring with just a fork—don't overdo it or you’ll blur the pink and lose those pretty streaks. If you're feeling extra creative, try a second hue like green and drag a toothpick around for a marbled effect that wows at the table. It’s a small touch that always gets delightfully exaggerated oohs and ahhs.
Troubleshooting & Shortcuts
A quick blitz in the freezer can speed up chilling in a pinch, but don’t leave it too long or the crust will get rock hard. If your cream cheese is still a bit cold, cut it into tiny cubes so it mixes more evenly with the sugar. Making ahead? Wait to garnish until just before guests arrive for best crunch and color.
- Store leftovers in an airtight container so the pie stays fresh and creamy for up to 3 days.
- If gluten-free, swap in your favorite gluten-free cookies—no one will know.
- Chill your mixing bowl and whisk for the creamiest whipped cream.
 Save
Save This pie turns every gathering into a little celebration all its own. Give it a try—your kitchen will smell like the holidays and your guests will ask for it every year.
Recipe FAQs
- → How do I keep the candy canes crunchy?
-
Garnish just before serving so the crushed candy pieces don't soften in the filling. Store the finished pie refrigerated and add extra crushed candy cane or whole pieces right before slicing.
- → Can I make the filling pink without affecting texture?
-
Yes. Stir in a few drops of red food coloring until you reach the desired hue; mix gently to keep the whipped cream light and airy. A little goes a long way.
- → What's the best way to whip the cream for a stable filling?
-
Chill the metal bowl and beaters beforehand and whip cold heavy cream to stiff peaks. Avoid overbeating; stop once peaks hold shape to fold into the cream cheese base without deflating it.
- → How long should the pie chill before serving?
-
Refrigerate at least 4 hours to allow the filling to firm. Overnight chilling yields the best set and flavor melding between peppermint and cream cheese.
- → Can I make a gluten-free version?
-
Yes. Substitute gluten-free chocolate sandwich cookies for the crust and process to fine crumbs. Press and chill exactly the same way for a firm base.
- → How can I adjust the peppermint intensity?
-
Start with half the peppermint extract called for, taste the filling, and add more in small increments. Peppermint extracts are strong; small changes have a big impact.