
 Save
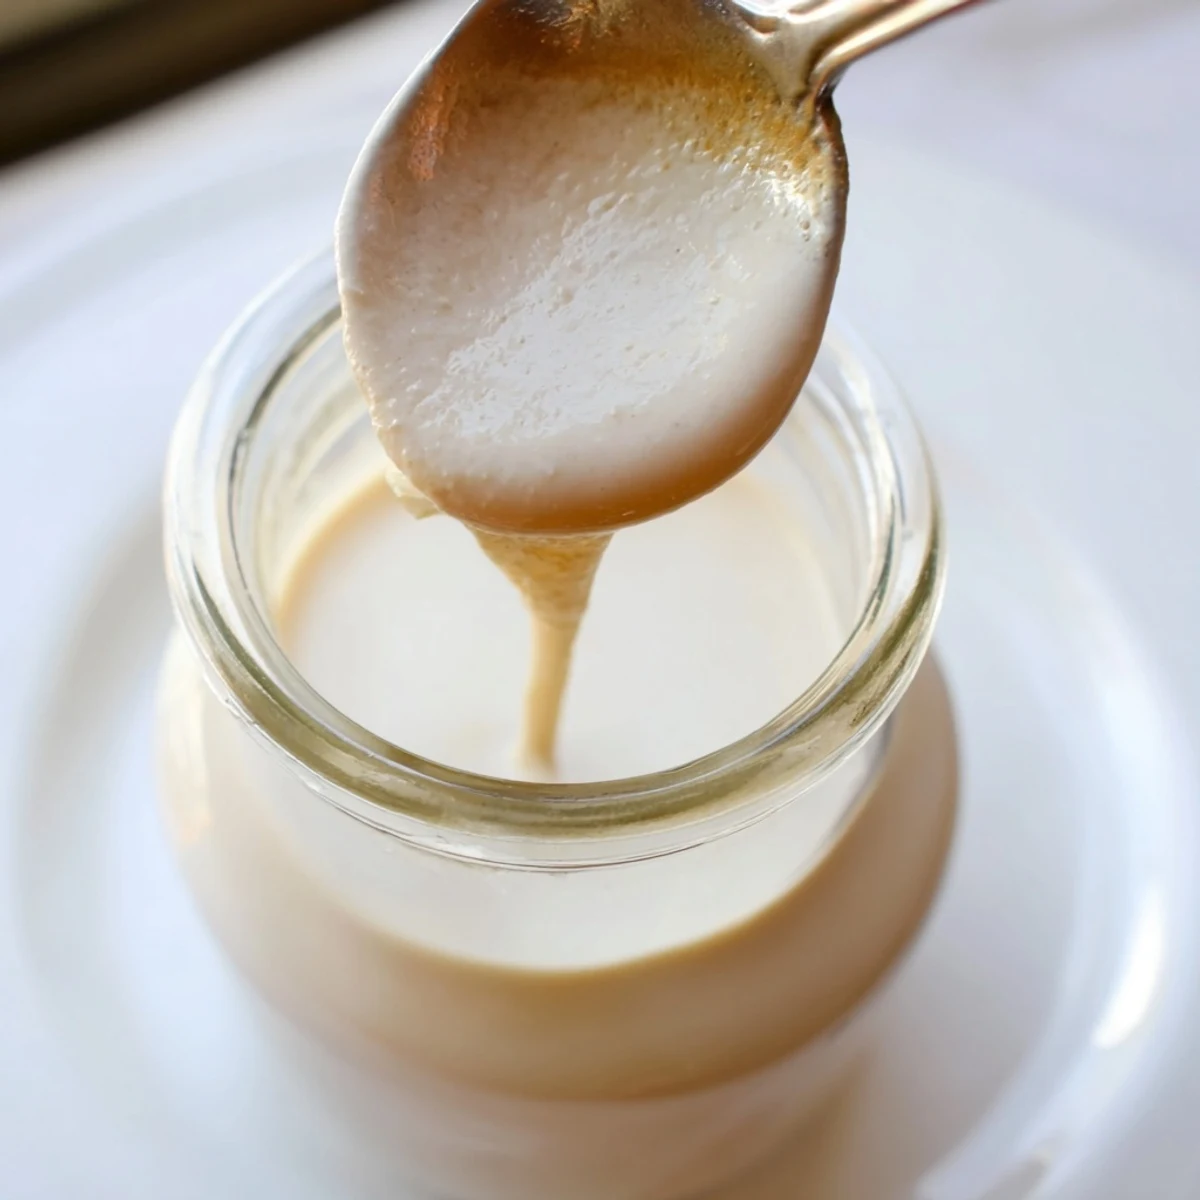
Save This homemade condensed coconut milk delivers the same luscious, sweet thickness as the traditional version, entirely dairy-free. By slowly simmering full-fat coconut milk with sugar and a pinch of salt, the mixture reduces into a velvety, golden syrup that thickens further as it cools.
Stir it into coffee, drizzle over pancakes, or use it as a one-to-one substitute in any dessert calling for sweetened condensed milk. It keeps for up to a week in the fridge, making it a handy staple for vegan and allergen-friendly kitchens.
The afternoon I discovered condensed coconut milk was a humid Tuesday in July, standing in a friend's kitchen trying to make fudge for a vegan birthday party. I had already burned one batch of regular condensed milk to the bottom of a pan and was ready to give up entirely when she handed me a can of coconut milk and said just try it. The result was so silky and deeply caramel toned that I never went back to the canned supermarket version.
I brought a jar of this to a holiday potluck and three people pulled me aside to ask what brand of condensed milk I used because their pies had never tasted so good. Watching their faces when I said I made it on the stove with coconut milk was genuinely one of my favorite kitchen moments.
Ingredients
- 1 can (400 ml) full-fat coconut milk: Do not use light coconut milk because the reduced fat content will leave you with a thin, watery result that never thickens properly.
- 1/2 cup (100 g) granulated sugar: White sugar keeps the color pale and clean, but coconut sugar will give you a gorgeous caramel depth if that is what you prefer.
- 1 pinch of salt: Salt is not optional here because it rounds out the sweetness and prevents the finished product from tasting flat.
- 1/2 tsp vanilla extract (optional): Adding vanilla at the very end rather than during cooking preserves its delicate aromatic quality.
Instructions
- Combine and dissolve:
- Pour the coconut milk and sugar into a medium saucepan, add the salt, and stir over medium heat until you can no longer feel any gritty sugar crystals on the bottom of the pan.
- Gentle simmer:
- Bring the mixture to a bare simmer, never a full rolling boil, because boiling can cause the coconut fats to separate into an oily layer on top.
- Patience and stirring:
- Reduce the heat to low and let it bubble softly for 35 to 40 minutes, stirring every few minutes and watching it slowly transform into something thick, glossy, and golden.
- Finish and cool:
- Remove the pan from heat, stir in the vanilla extract if using, and let it sit untouched because it will continue to thicken considerably as it cools to room temperature.
 Save
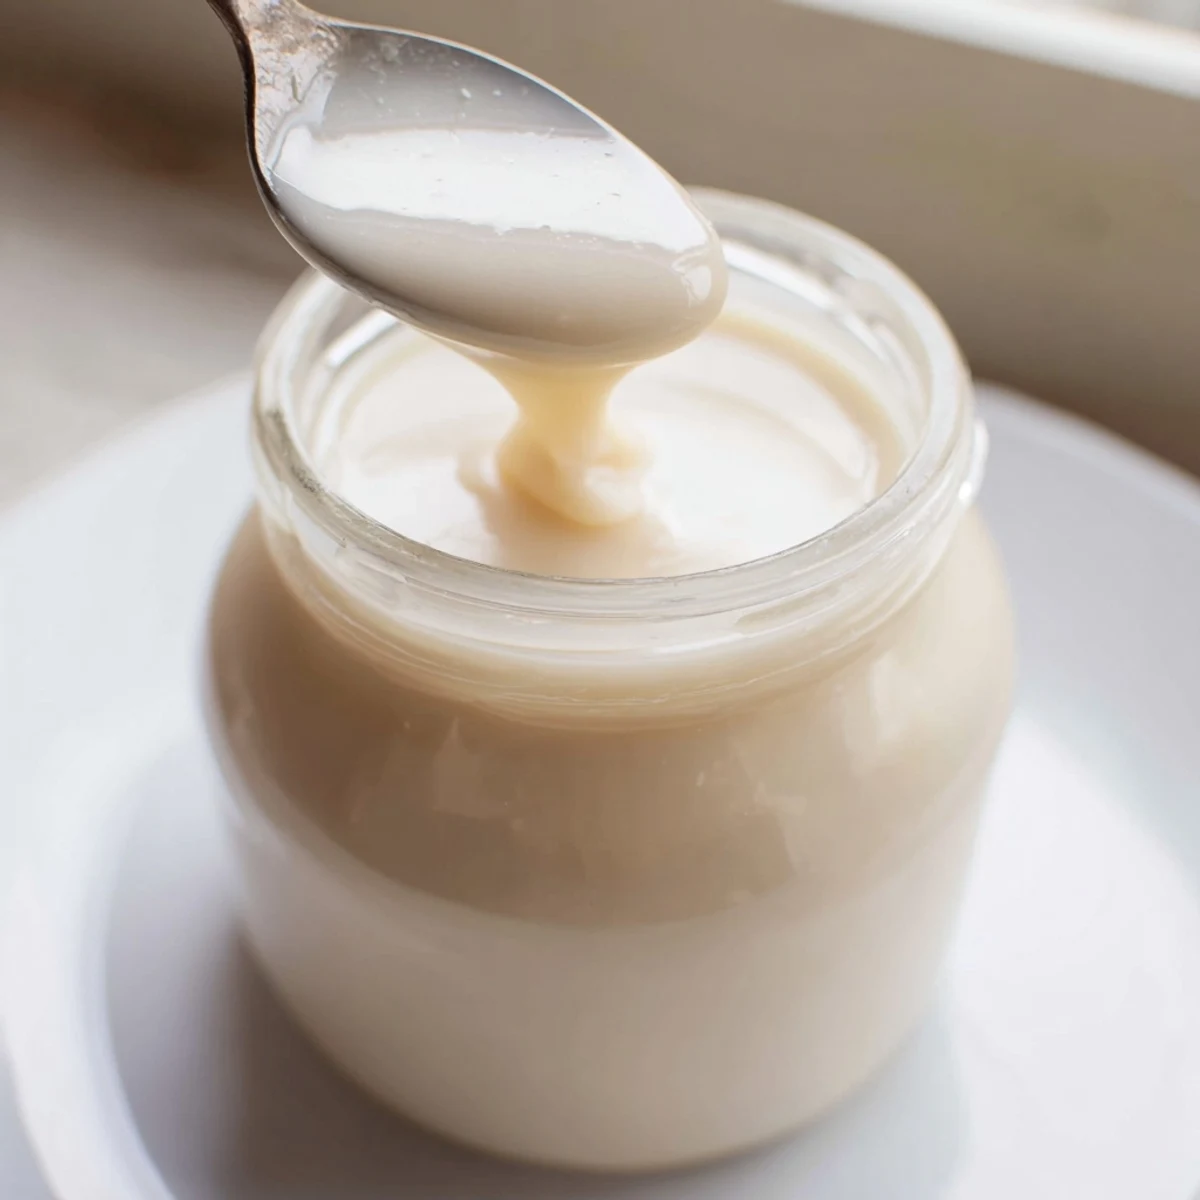
Save There is something deeply satisfying about watching a simple can of coconut milk transform spoonful by spoonful into something that tastes like it belongs in a glass jar at a fancy bakery.
Storing Your Condensed Coconut Milk
Transfer the cooled condensed coconut milk into an airtight container and keep it in the refrigerator for up to one week. I like using a small mason jar with a tight lid because it makes pouring easy and looks rather charming sitting on the fridge shelf.
Ways To Use It
Drizzle it over oatmeal, swirl it into coffee instead of creamer, or use it as a direct one to one substitute for sweetened condensed milk in any recipe. It works beautifully in no churn ice creams, fudge, Vietnamese coffee, and even as a quick caramel dip for apple slices.
Troubleshooting and Final Thoughts
Every stove is different, so your cooking time might land anywhere from 30 to 45 minutes depending on heat distribution and the width of your pan. Trust your eyes and instincts more than the clock.
- If the mixture seems too thin after cooling, you can return it to low heat for another ten minutes.
- A wider pan means faster evaporation and a shorter cooking time overall.
- Always stir from the bottom and edges to prevent any sticky film from forming.
 Save
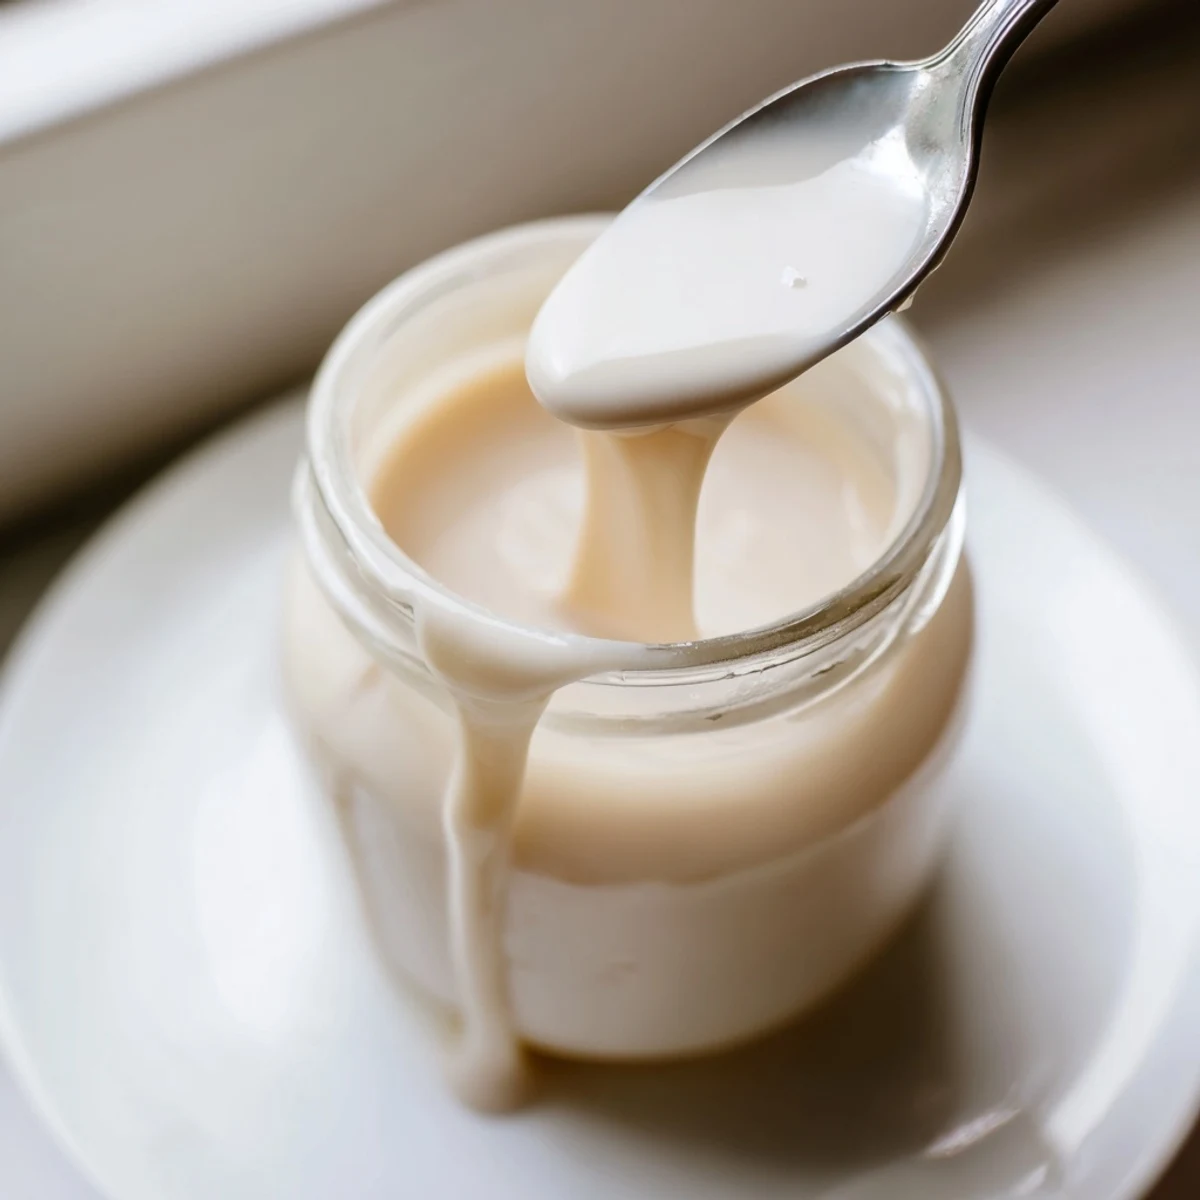
Save Once you make condensed coconut milk from scratch, you will wonder why you ever bought it in a can. Keep a jar in your fridge and your desserts will thank you.
Recipe FAQs
- → Can I use light coconut milk instead of full-fat?
-
Full-fat coconut milk is strongly recommended because its higher fat content produces the thick, creamy consistency you want. Light coconut milk will yield a thinner result that takes considerably longer to reduce and won't set up as firmly when cooled.
- → Why is my condensed coconut milk not thickening?
-
The mixture needs a gentle, uninterrupted simmer over low heat for 35 to 40 minutes. Avoid boiling, which can cause separation. Also remember that significant thickening happens during cooling, so be patient once you remove it from the heat.
- → How should I store leftovers?
-
Transfer the cooled condensed coconut milk to an airtight container and refrigerate for up to one week. It may separate or firm up in the fridge—simply stir it or warm it gently to restore a smooth, pourable consistency.
- → Can I use a different sweetener?
-
Yes. Coconut sugar works beautifully and adds a deeper, caramel-like flavor, though it will darken the color. Maple syrup or agave can also be used, but the texture and set may vary slightly from the sugar-based version.
- → Is condensed coconut milk safe for people with nut allergies?
-
Coconut is classified as a fruit by the FDA, but it is considered a tree nut allergen by some regulatory bodies and can affect certain individuals. Always check with a healthcare provider if there is a concern, and verify that your coconut milk is processed in a nut-free facility.
- → What can I make with condensed coconut milk?
-
Use it anywhere you'd normally use sweetened condensed milk: fudge, flan, no-bake bars, sticky rice, iced coffee drinks, or poured over fresh fruit. It works as a direct one-to-one substitute in most preparations.