 Save
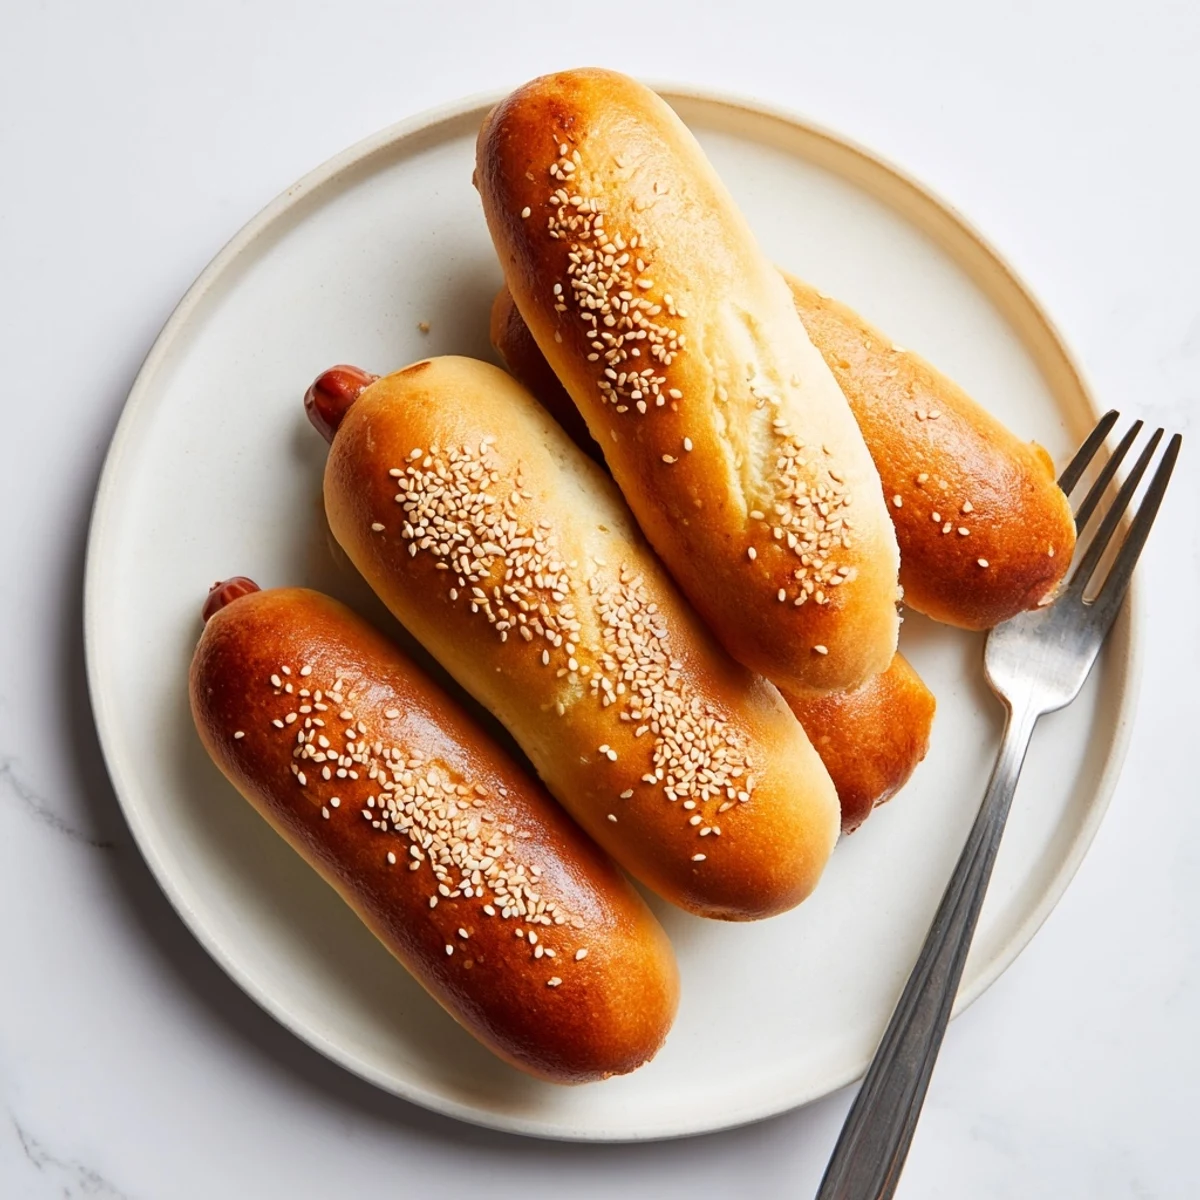
Save Elevate your next cookout with these incredibly soft hot dog buns featuring a delightful tang from sourdough discard. The dough combines warm milk, butter, and yeast with your unfed starter for richness and depth. After a simple kneading and two rise phases, you'll have eight golden, pillowy buns perfect for topping with sesame seeds or everything bagel seasoning. Brushing with melted butter after baking ensures an irresistibly tender crust.
The kitchen smelled like yeast and warm butter when I first attempted these buns, having rescued a jar of sourdough discard from the back of the fridge. My family had requested hot dogs for dinner, and something about store-bought buns felt inadequate for a proper summer meal. That evening, watching the dough rise through the oven window, I realized how much character a little fermented discard could add to an everyday bread.
Last summer, I made these for a neighborhood cookout and watched skeptical adults become children again, standing around the grill asking where I had bought such incredible buns. There is something deeply satisfying about serving food that makes people pause and genuinely appreciate the effort behind a meal.
Ingredients
- Sourdough discard: This unfed starter brings natural fermentation and complex flavor while reducing food waste from your regular sourdough routine
- Warm milk: Creates a tender crumb and activates the yeast, but make sure it is warm to the touch, not hot, or you will kill the yeast
- Melted butter: Adds richness and helps the buns stay soft longer after baking
- Sugar: Feeds the yeast and helps the crust develop a beautiful golden color in the oven
- Egg: Provides structure and contributes to the soft, pillowy texture of the finished buns
- Salt: Do not skip this, as it balances the slight tang from the sourdough and brings all the flavors together
- All-purpose flour: Start with less flour than you think you need, and add gradually until the dough pulls away from the sides of the bowl
- Instant yeast: Works quickly and reliably, giving you that perfect rise without requiring proofing beforehand
- Milk and butter for topping: These simple additions create an appealing sheen and extra softness that sets homemade buns apart
- Seeds: Sesame, poppy, or everything seasoning adds visual appeal and a nice crunch that complements the soft bread
Instructions
- Wake up the yeast:
- Combine the warm milk with sugar and yeast in your largest mixing bowl, letting it sit undisturbed until you see tiny bubbles forming across the surface
- Build the dough base:
- Add the sourdough discard, melted butter, egg, and salt to the yeast mixture, stirring until everything is incorporated and the mixture looks uniform
- Add flour gradually:
- Pour in the flour one cup at a time, mixing after each addition until you have a soft, slightly tacky dough that holds together but still feels supple
- Knead until smooth:
- Turn the dough onto a lightly floured surface and work it with the heels of your hands for about eight minutes until it feels smooth, elastic, and bounces back when you press it
- Let it rise:
- Place the dough in a greased bowl, cover it with a clean towel, and find a warm corner where it can double in size over the next hour or so
- Shape the buns:
- Divide the dough into eight equal pieces, then roll each into a smooth log about six inches long, tucking the edges underneath for a neat appearance
- Second rise:
- Arrange the shaped buns on a parchment-lined baking sheet with plenty of space between them, cover again, and wait until they look puffy and slightly aerated
- Preheat and prep:
- Heat your oven to 375 degrees Fahrenheit while you brush the buns with milk and press seeds gently into the tops if you are using them
- Bake to golden:
- Slide the baking sheet into the oven and let the buns bake for eighteen to twenty minutes until they are deeply golden on top and sound hollow when tapped
- Finish with butter:
- Brush the warm buns immediately with melted butter to soften the crust, then let them cool completely before slicing to prevent gummy interiors
 Save
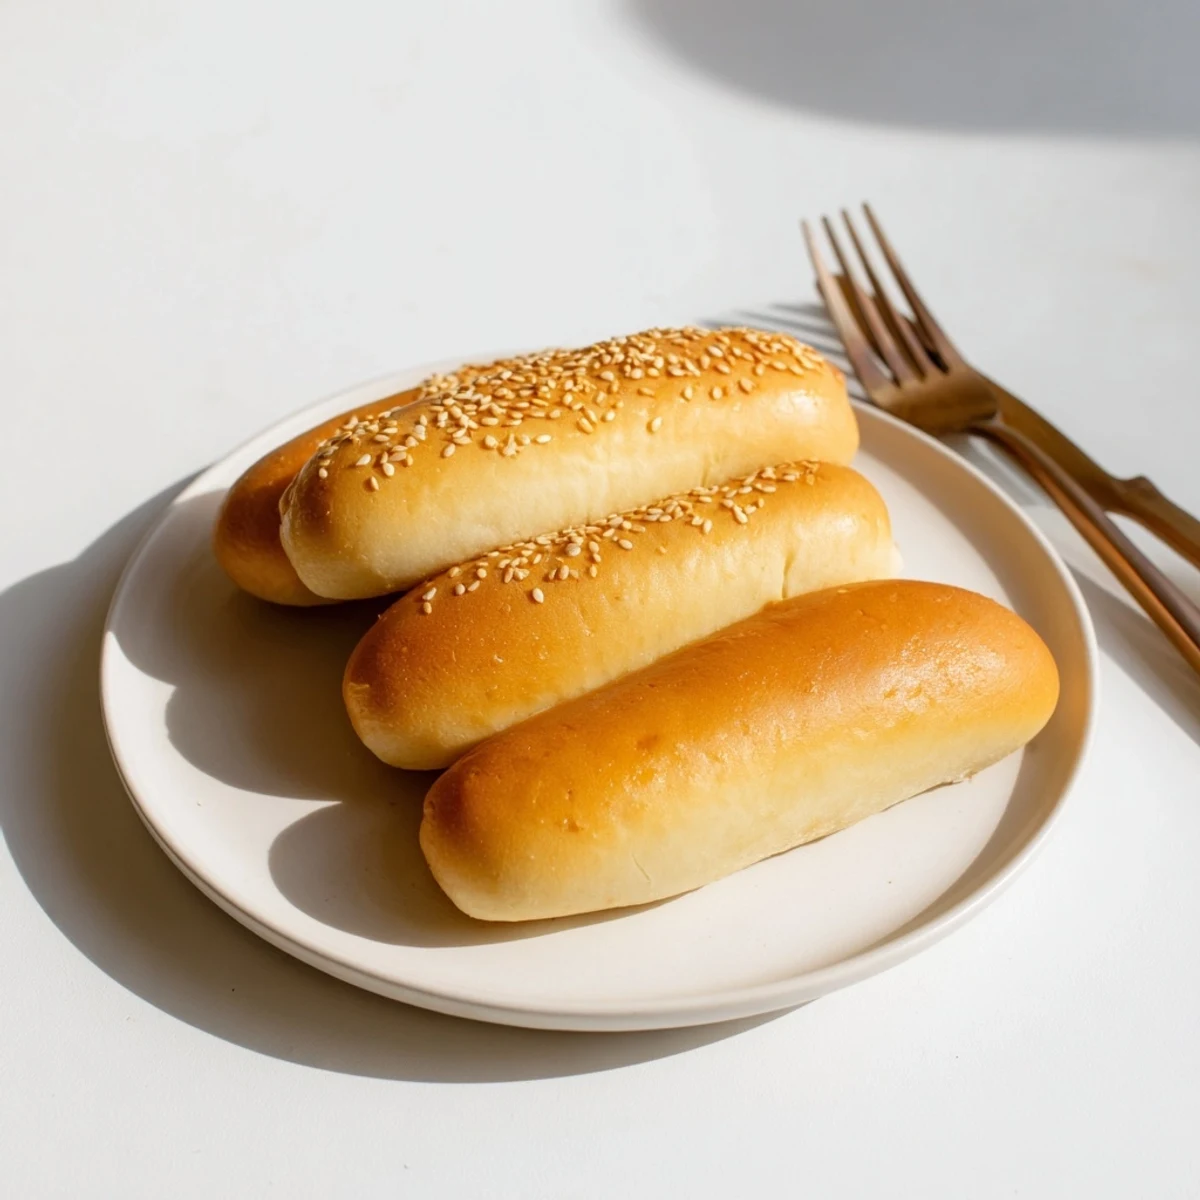
Save These buns have become my go-to for summer grilling, transforming simple hot dogs into something worth gathering around. The way they hold up to condiments without falling apart makes them worth every minute of the process.
Making Them Your Own
Swap bread flour for all-purpose if you prefer a chewier bun with more structure. The extra protein in bread flour creates a satisfying bite that stands up well to hearty toppings and grilled meats.
Storage and Freezing
Store cooled buns in an airtight container at room temperature for up to three days, or freeze them individually wrapped for up to three months. Thaw frozen buns on the counter for an hour before serving, or warm them briefly in the oven.
Serving Suggestions
These buns shine with classic beef hot dogs, but they are equally wonderful with bratwurst, vegetarian sausages, or even sliced in half for hearty sandwiches. The slight tang from the sourdough pairs especially well with sharp cheddar, mustard, and sauerkraut.
- Try them with pulled pork and coleslaw for a BBQ twist
- Slice and toast them for breakfast sandwiches with scrambled eggs
- Use any leftover buns for bread crumbs or croutons the next day
 Save
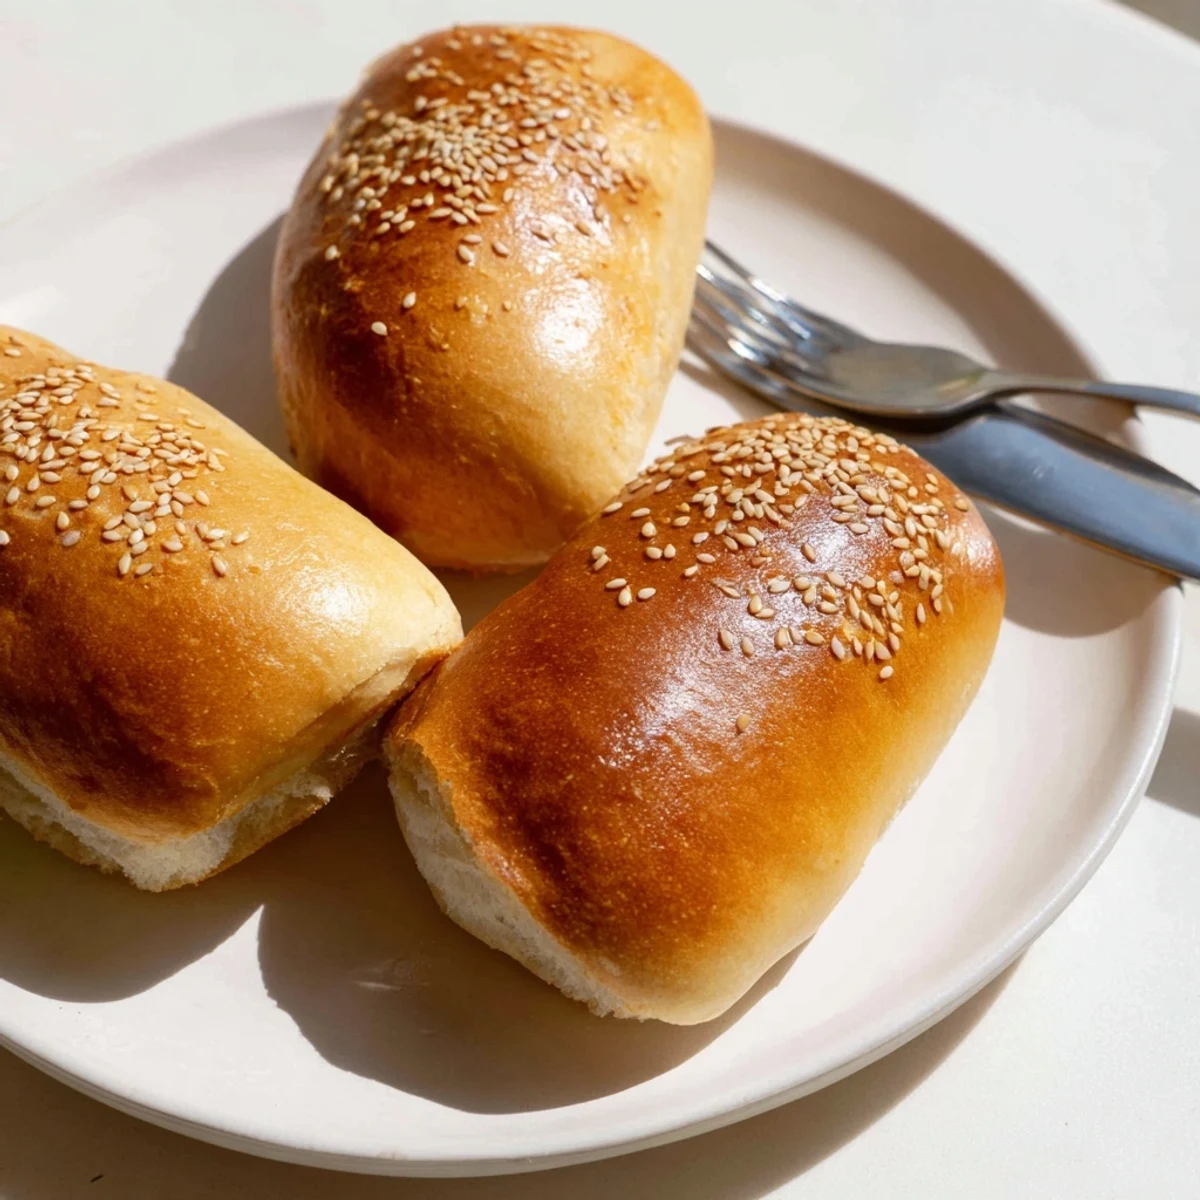
Save Nothing beats the smell of fresh bread wafting through the house, and these buns are worth every moment of hands-on time. Enjoy the process and the perfectly imperfect results.
Recipe FAQs
- → Can I make these buns dairy-free?
-
Yes. Substitute the warm milk with your favorite plant-based alternative like oat or almond milk, and use vegan butter instead of dairy butter. The texture and rise remain excellent.
- → Should I use active sourdough starter or discard?
-
Use unfed sourdough discard directly from your refrigerator—no need to feed or activate it first. The 100% hydration discard provides the perfect tangy flavor without additional fermentation time.
- → Can I freeze these buns?
-
Absolutely. Once completely cooled, place buns in a freezer-safe bag for up to 3 months. Thaw at room temperature or warm gently in the oven before serving.
- → Why brush with butter after baking?
-
Brushing with melted butter creates a softer, more tender crust while adding rich flavor. For a shinier appearance, you can brush with egg wash before baking instead.
- → What's the best way to shape the buns?
-
Divide dough into 8 equal pieces, then roll each into a 6-inch smooth log. Taper the ends slightly and place seam-side down on the baking sheet for uniform rising.
- → Can I use bread flour instead of all-purpose?
-
Yes. Bread flour creates a chewier texture with better structure due to higher protein content. You may need slightly more liquid to achieve the same soft dough consistency.