 Save
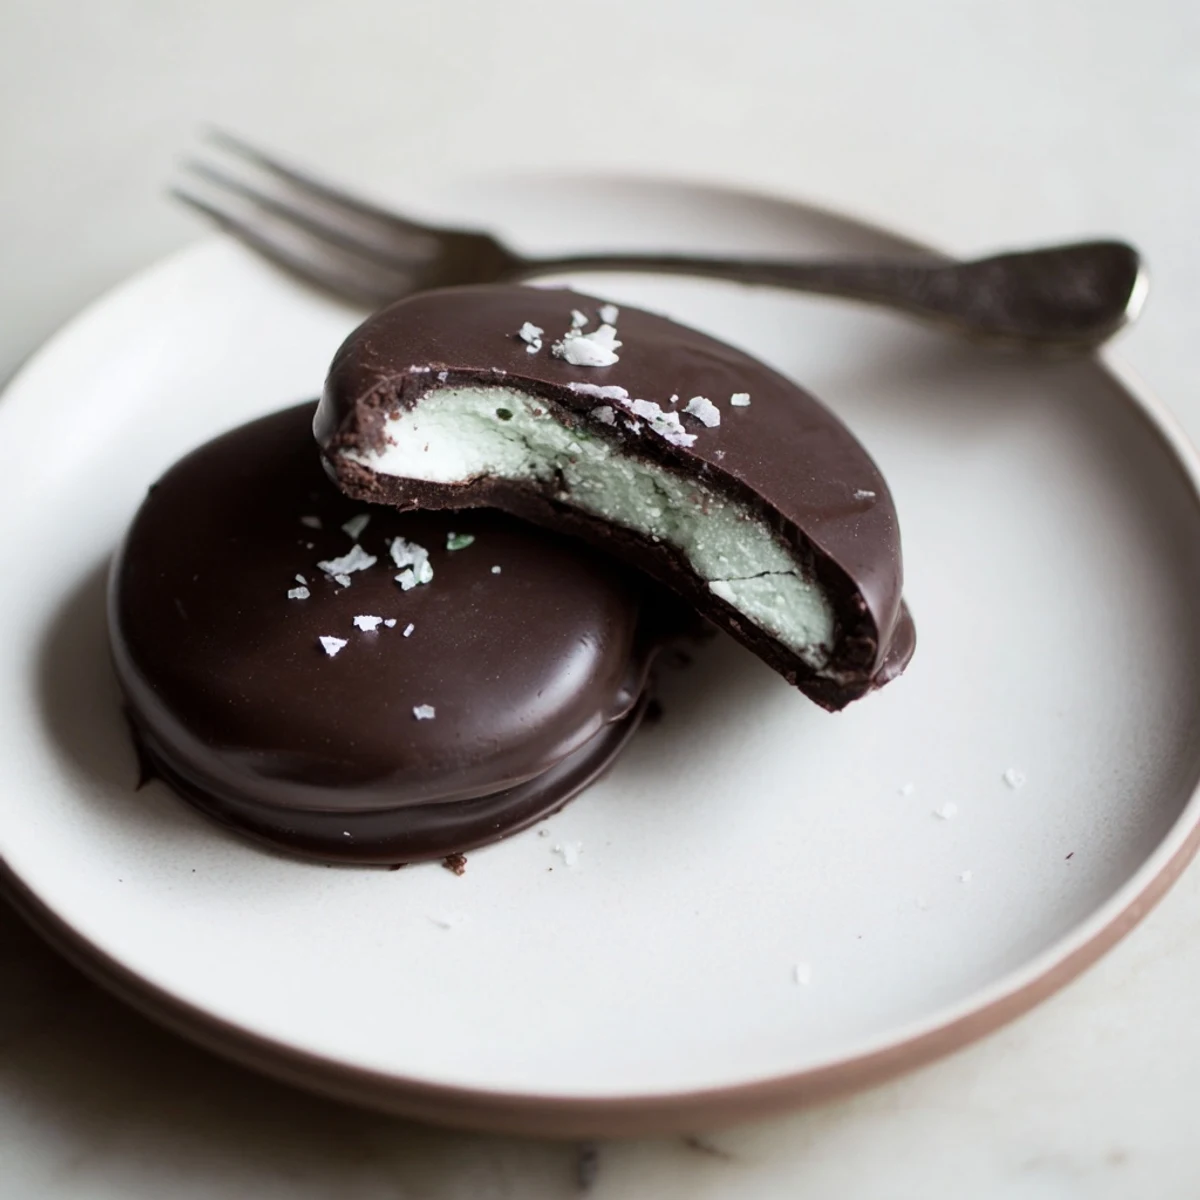
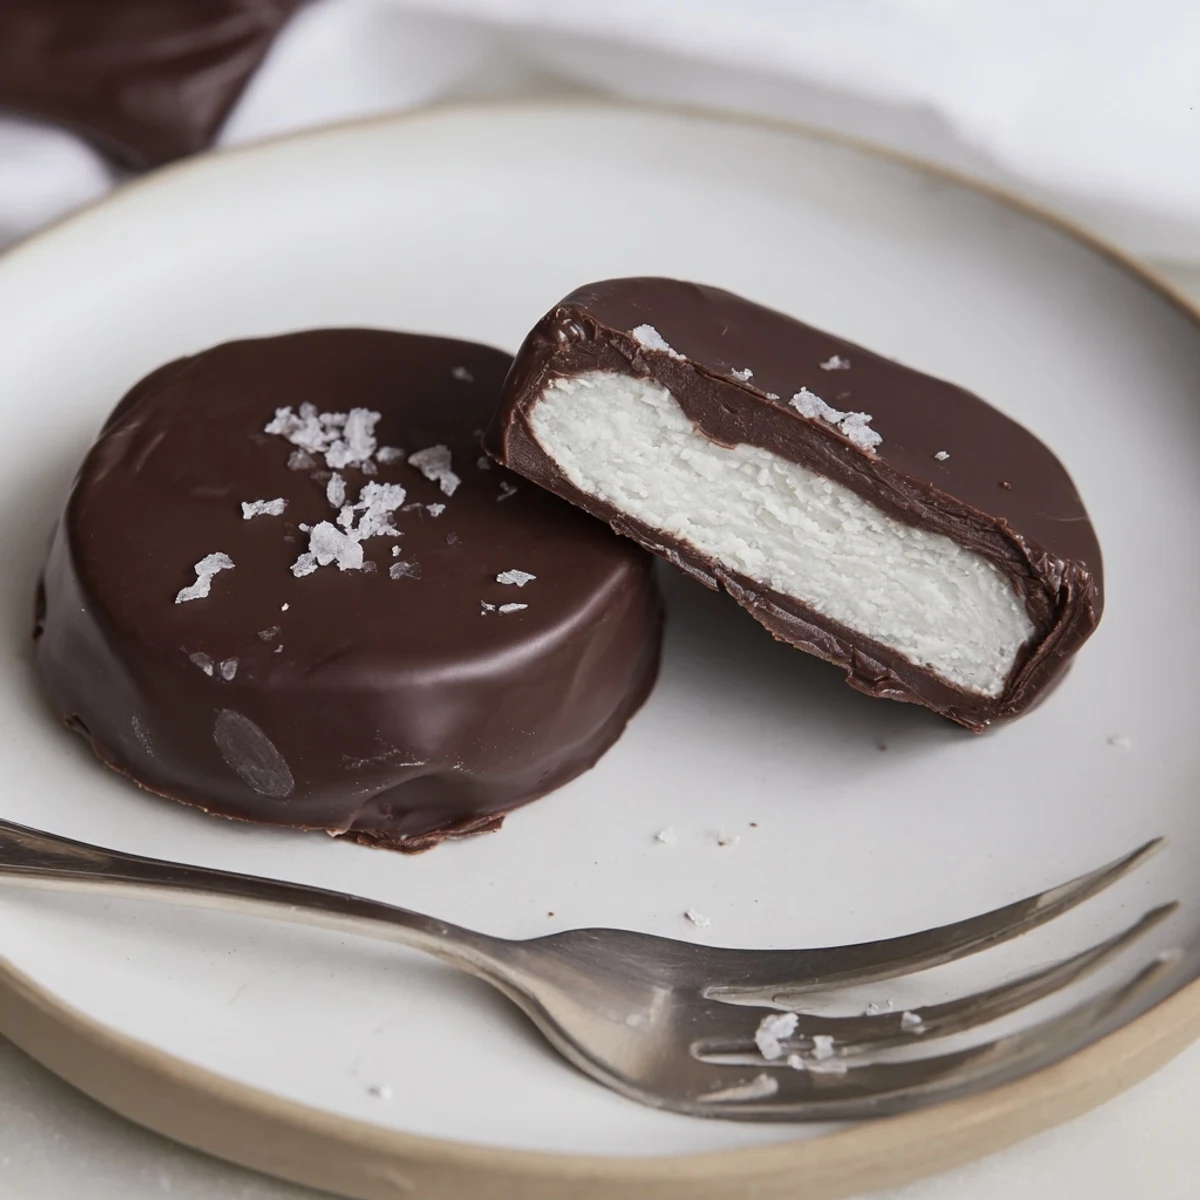
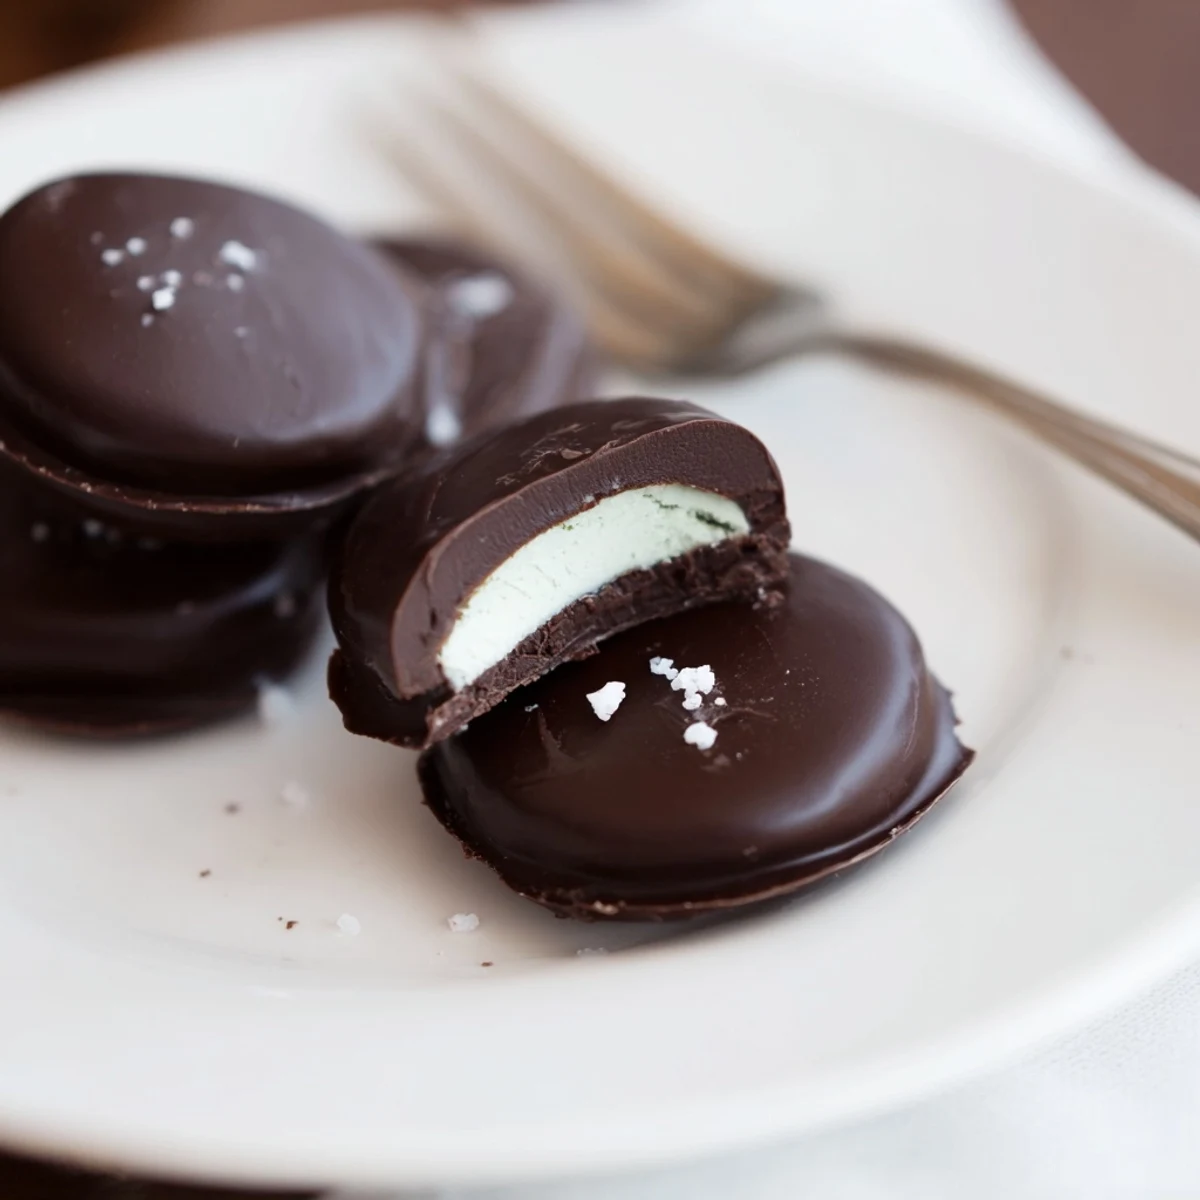
Save Make a stiff mint filling by beating sifted powdered sugar with softened butter, peppermint extract, a touch of heavy cream and salt until pliable. Shape into small discs, freeze 20–30 minutes, then dip in melted dark chocolate (stir in a little coconut oil for smoother coating). Chill until set. Yields about 24 patties. Try crushed candy or flaky salt on top; store chilled up to two weeks.
Mint and chocolate always seemed like a fancy combination to me, but making peppermint patties at home turned out to be pure fun. The first time I tried, the kitchen filled with that crisp, unmistakable peppermint scent, and I kept sneaking little tastes before they were even finished. There's something quietly satisfying about watching the glossy chocolate set up on each cool disk. This recipe became my secret weapon for impressing friends after dinner or putting together last-minute gifts.
My youngest cousin once camped out at the fridge just waiting for the chocolate to set, eyeing every patty as though it were treasure. That afternoon, laughter bounced off the countertops and we learned the hard way how hard it is to wait for a treat to chill. Ever since, these patties are called 'waiting mints' in my family. Even grownups can't help peeking into the fridge for 'quality control.'
Ingredients
- Powdered sugar: Sift it first for a super-smooth, non-gritty filling (lumpy sugar makes bumpy patties).
- Unsalted butter: Let it warm a bit—creamier butter blends seamlessly into the dough.
- Peppermint extract: Go easy—pure extract is potent and a little packs a big minty punch.
- Heavy cream: Adds richness and just enough moisture to pull the dough together.
- Pinch of salt: Brightens the mint and balances the sweetness.
- Dark chocolate (60–70%): Slightly bitter chocolate cuts through the sweet mint for true contrast.
- Coconut oil (optional): A dab makes the coating shinier and easier to dip, especially if your chocolate seizes up.
Instructions
- Mix the peppermint filling:
- Grab a bowl and beat the powdered sugar, softened butter, peppermint extract, heavy cream, and salt until you have a smooth, pliable dough. If it sticks to your hands, mix in extra powdered sugar a bit at a time.
- Shape the patties:
- Roll or scoop the dough into balls (roughly 2 teaspoons each) and gently flatten into thick little discs—don’t worry about perfection. Place them on a parchment-lined sheet so they don’t stick.
- Freeze the discs:
- Pop the tray in the freezer for about 25 minutes so the patties firm up and are easy to dip.
- Melt the chocolate:
- Set a heatproof bowl over simmering water, add the chocolate and coconut oil (if using), and stir gently until completely smooth and glossy.
- Dip and coat:
- Working quickly, dip each frozen peppermint disc in chocolate using a fork, letting the excess drizzle off. Return coated patties to the parchment to set.
- Chill and set:
- Move the tray to the fridge and let the patties chill for about 15 minutes, or until the chocolate is snappy and set.
 Save
Save The first holiday I boxed these up, my friend sent a midnight text: 'These should come with a warning label!' Suddenly, these homemade patties were more than candy—they were my little edible love notes sent out into the world. Seeing people light up with the first bite is a memory I revisit every time I unwrap one for myself.
When to Reach for This Recipe
If you need a quick homemade gift or an impressive treat for guests, these peppermint patties are my go-to. They pack so well and even look professional when lined up in cellophane bags. I've even brought them to potlucks, where they're always the fastest dessert to disappear.
Little Details That Matter
The thickness of the filling makes a difference; too thin and it disappears under the chocolate, too thick and the balance is off. Also, don’t skip the parchment—you’ll save yourself so much sticking and cleanup. And if you’re feeling adventurous, a sprinkle of flaky salt before the chocolate sets elevates everything.
Make-Ahead Magic and Storing Tips
One trick I can’t recommend enough: make a big batch and stash them in the fridge for sneaky late-night snacks. They keep beautifully for up to two weeks if you can resist them that long.
- If you want prettier patties, use a cookie cutter to shape the discs uniformly.
- Dairy-free substitutions work like a charm here.
- Store them in a single layer at first; stacked patties can stick together.
 Save
Save I hope your kitchen fills with the cool scent of peppermint and the satisfied hum of chocolate setting. Treat yourself to one before the sharing starts—they go faster than you’d ever expect.
Recipe FAQs
- → How do I prevent the mint filling from becoming too sticky?
-
Beat the filling until smooth and add powdered sugar gradually until it reaches a firm, pliable dough. Chilling the discs for 20–30 minutes also firms them for easier dipping.
- → What's the best way to melt the dark chocolate?
-
Melt chocolate gently over a simmering pot of water (double boiler) while stirring until smooth. Alternatively, microwave in 15–20 second bursts, stirring between each, to avoid scorching.
- → How can I get a smooth, glossy chocolate coating?
-
Avoid overheating the chocolate and keep steam away from the bowl. Stir in a teaspoon of coconut oil for a silkier finish, or temper the chocolate for extra shine and snap.
- → Can I make these without dairy?
-
Yes. Use dairy-free butter and coconut cream in the filling and choose dark chocolate labeled dairy-free or vegan. Always check labels for cross-contamination warnings.
- → How long do the patties keep and how should I store them?
-
Store in an airtight container in the refrigerator for up to two weeks. For longer storage, freeze layered between parchment and thaw chilled before serving.
- → What toppings or variations work well?
-
Sprinkle crushed peppermint candy, finely chopped nuts, or flaky sea salt on the chocolate before it sets. You can also add a touch more extract for a stronger mint flavor.