 Save
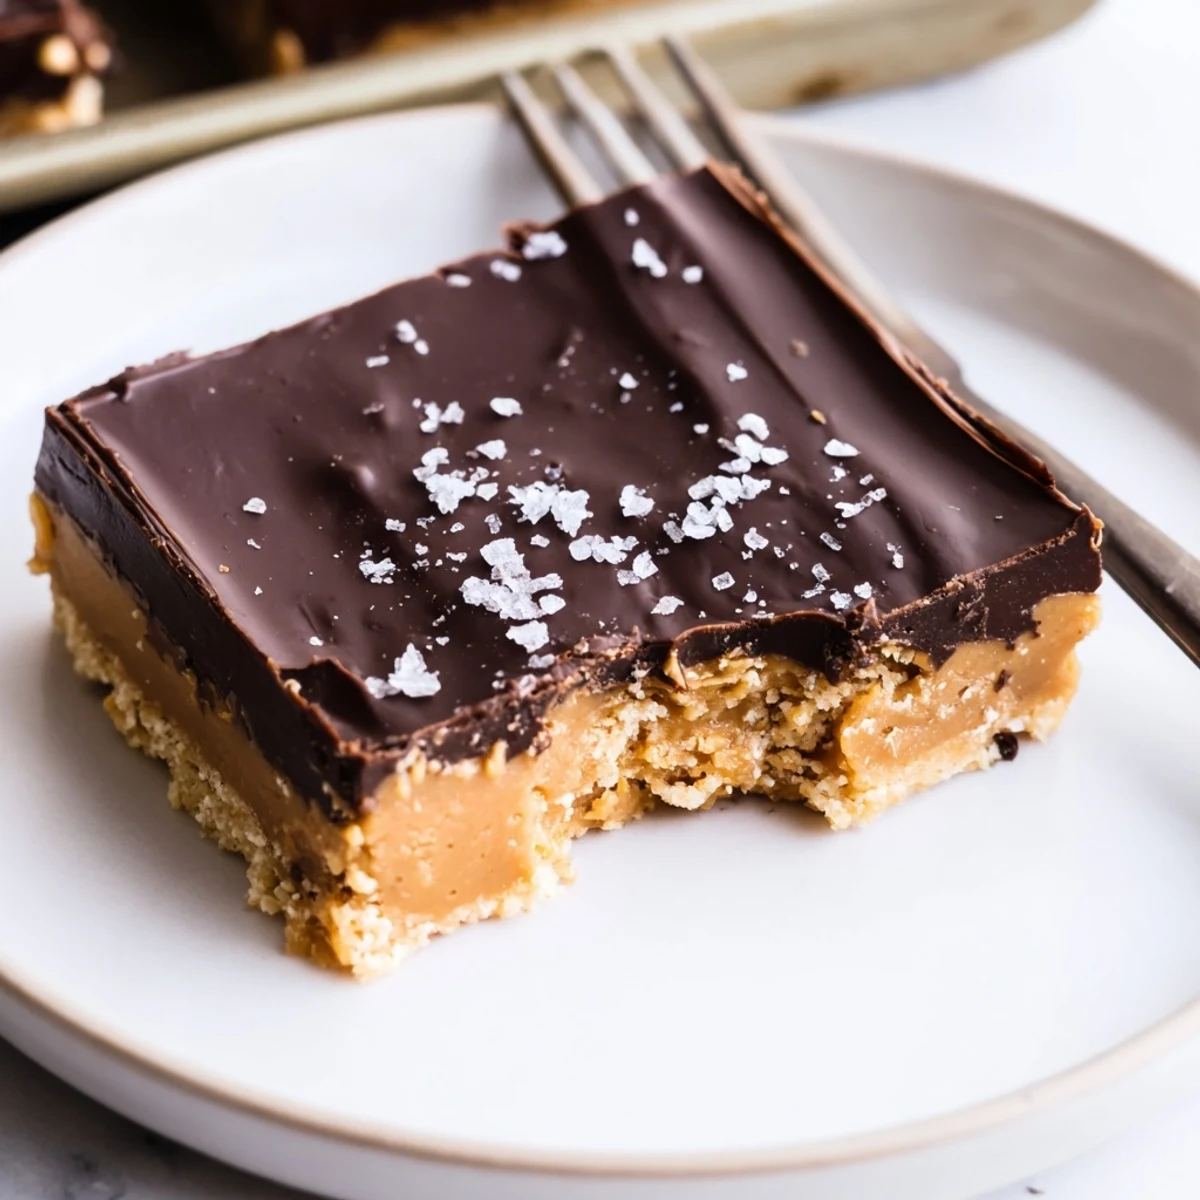
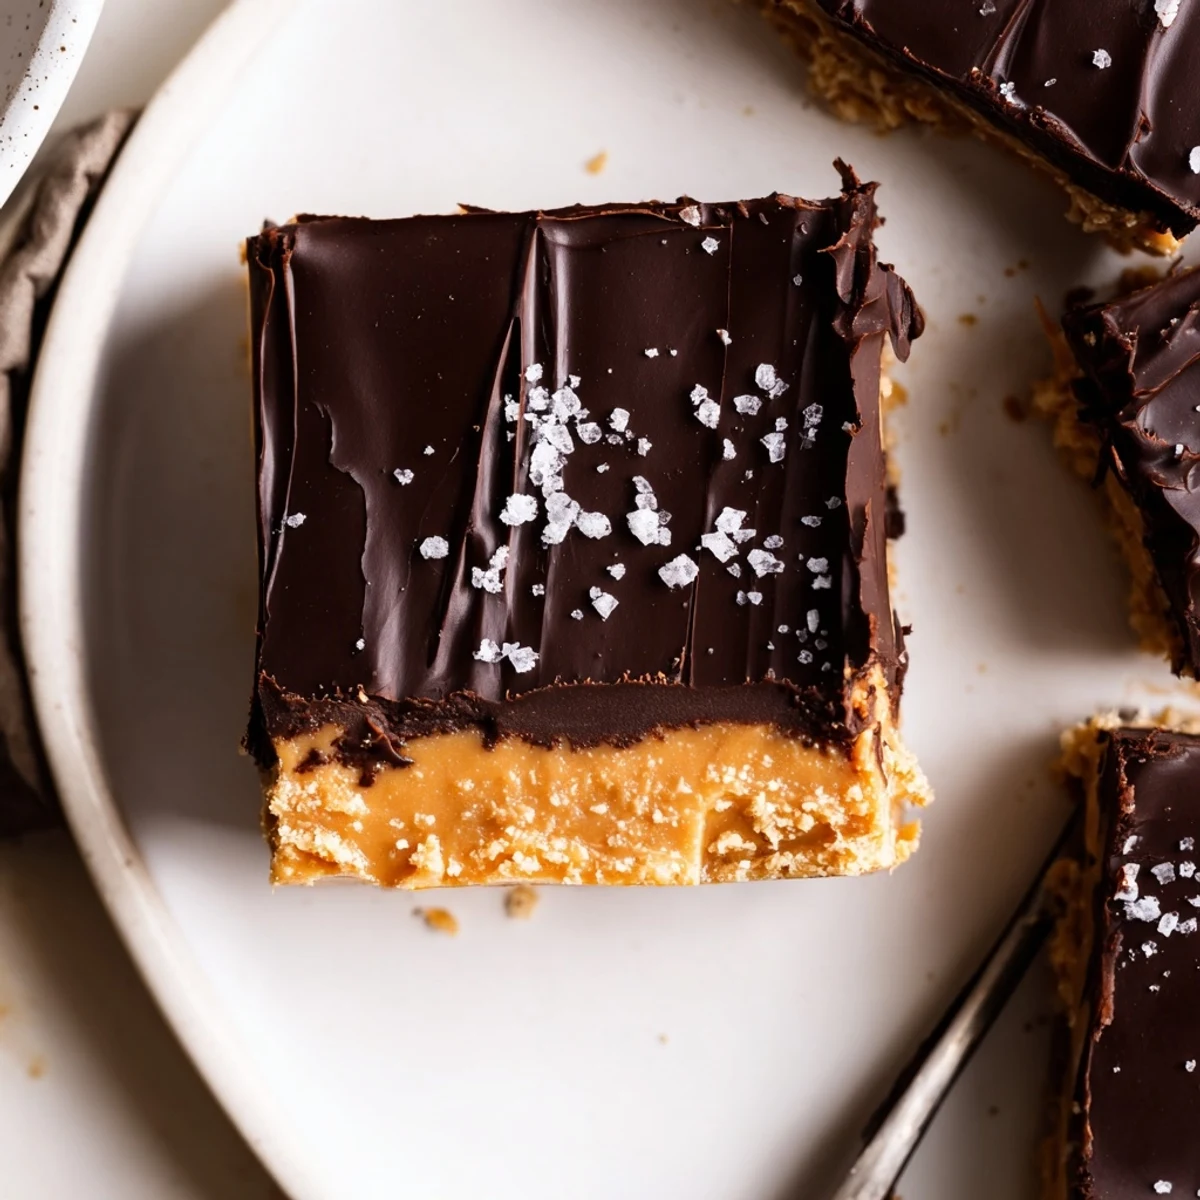
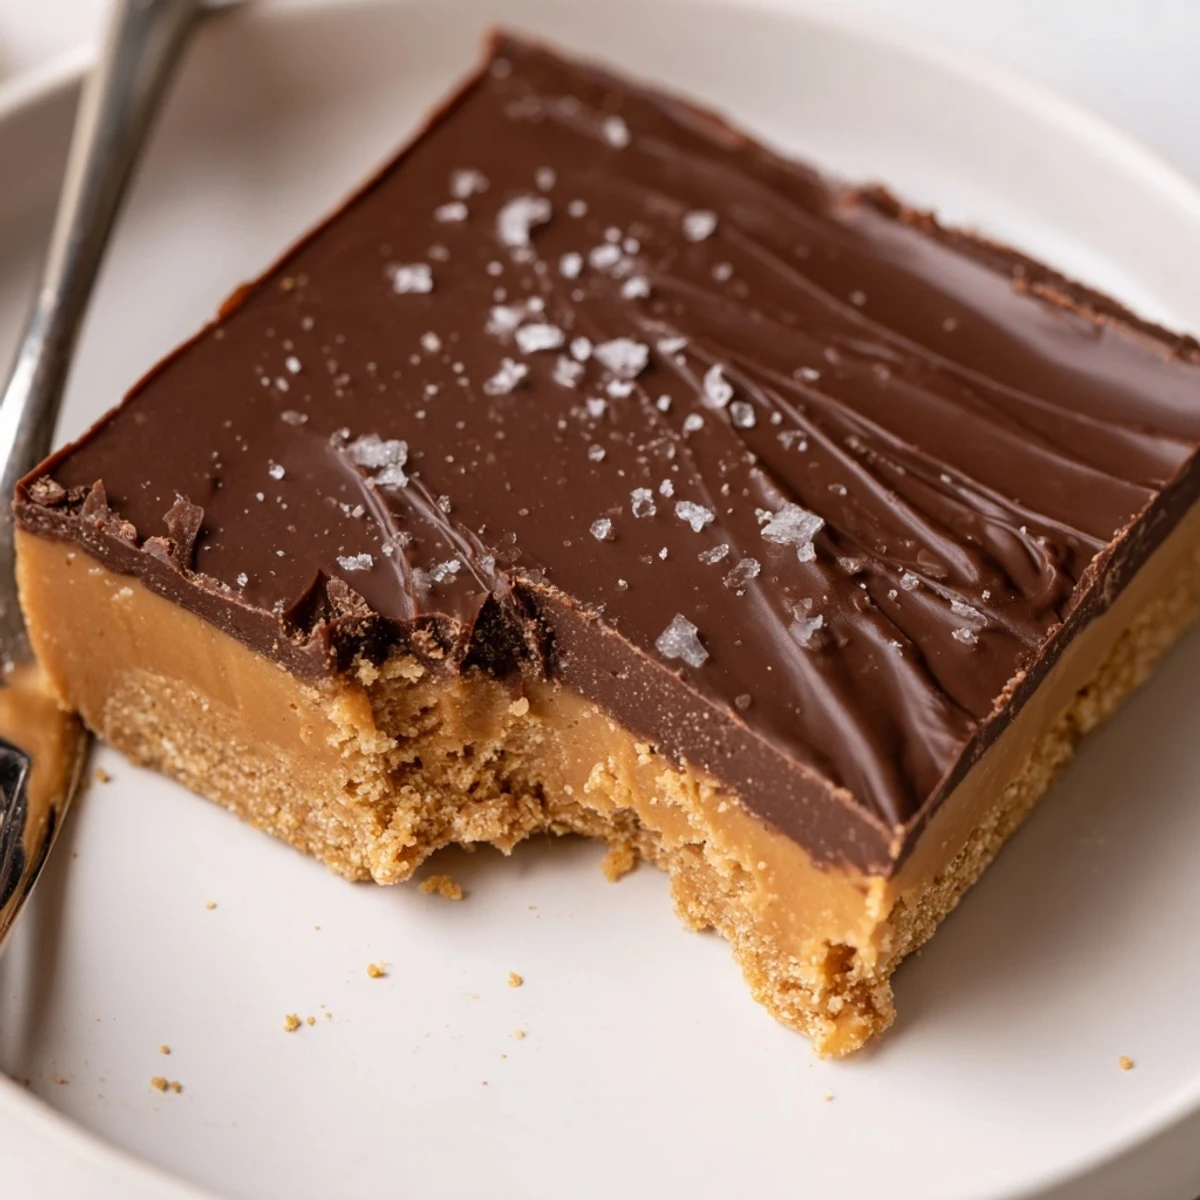
Save Layered no-bake bars with a dense peanut butter and graham-cracker base topped by a silky chocolate-peanut layer. Melt butter with peanut butter, stir in powdered sugar and crumbs, press into an 8x8 pan, then pour melted chocolate mixed with peanut butter over the base. Refrigerate at least two hours until set, lift from parchment and cut into 16 bars. Swap in chunky peanut butter or sprinkle sea salt to finish.
The first time I whipped up these No Bake Peanut Butter Bars, I did it half out of laziness and half in a fit of craving something sweet after a long Tuesday. The kitchen filled up with the toasty smell of peanut butter meeting melted butter and chocolate—comfort incarnate. While they were chilling, I kept peeking into the fridge as if impatience would somehow set them faster. Let’s just say, not every dessert worth sharing has to come out of a hot oven.
I’ll never forget my roommate walking in as I pressed down the peanut butter layer, grinning and grabbing a spoon to sample the bowl scraps. We ended up perched by the fridge with coffee, both waiting for the bars to set and debating if a sprinkle of sea salt would make them even better—spoiler: it absolutely does.
Ingredients
- Creamy peanut butter: Gives that velvety, nutty base—make sure to use the shelf-stable kind so your bars hold together.
- Unsalted butter, melted: Blends with peanut butter and adds luxurious richness to the mix.
- Powdered sugar: Sweetens and thickens the base smoothly, much easier to incorporate than granulated sugar.
- Graham cracker crumbs: For toothsome, subtle crunch; digestive biscuits work if grahams aren’t handy.
- Vanilla extract: A splash lifts all the flavors; don’t skip it unless you’re completely out.
- Semi-sweet chocolate chips: Makes that luscious topping—choosing a better brand never hurts.
- Creamy peanut butter (for topping): Melts into the chocolate for a glossy, peanutty finish that won’t crack when sliced.
Instructions
- Prep the pan:
- Snuggle some parchment into your 8x8 baking pan, with enough hanging over the edges to lift the set bars later—no wrestling required.
- Mix the peanut base:
- Stir together the melted butter and peanut butter until glossy and combined, inhaling that rich aroma as they swirl together.
- Combine everything:
- Add powdered sugar, graham crumbs, and vanilla, then mix until a thick dough forms—the texture should look like edible play-dough.
- Spread and smooth:
- Use a spatula or the back of a spoon to press the peanut mixture into the pan, smoothing the surface so every bar is even.
- Melt the topping:
- Zap chocolate chips and peanut butter together in the microwave in bursts; once glossy and unified, breathe in the scent of warm chocolate.
- Layer it on:
- Pour the shiny chocolate topping over the base, tilting the pan gently so it coats to every corner before smoothing it out.
- Chill to perfection:
- Pop the pan in the fridge for at least two hours—it’s the hardest part but worth the wait for clean slices.
- Slice and serve:
- Lift out the chilled bar slab, slice into neat squares, and if you like, finish with a shower of flaky sea salt.
 Save
Save When I brought a batch to a last-minute potluck, the entire pan disappeared before dinner even started—one person even tried hiding a square for later behind the drinks. I swear that moment turned these bars into legend among my friends.
Making Swaps Work
I’ve learned that graham crackers aren’t universal—digestives or gluten-free cookies fill in with zero flavor loss. Once, out of curiosity, I used almond butter on half the batch and it was a fun subtle twist, though classic peanut is still king in our kitchen.
Getting the Texture Just Right
The best bars have that fudge-like chew with just enough structure to hold up without crumbling. Let them chill the full two hours (overnight is even better) and use a hot knife for perfect, glossy slices without drag marks.
Quick Fixes and Serving Secrets
If you’re ever short on time, tossing the pan in the freezer for a bit helps speed things up, but set a timer so you don’t forget. These make an epic treat tucked in lunch boxes or with a scoop of vanilla ice cream on top—trust me. Fancier occasions call for a dusting of cocoa or a drizzle of extra melted peanut butter before serving.
- Try adding chopped roasted peanuts to the crust for crunch.
- A sprinkle of flaky salt is the magic finishing touch.
- Bars keep best wrapped and chilled, but they vanish fast.
 Save
Save When you’re craving a treat that’s both comforting and quick, these bars never let you down. Have a little fun making them your own and share with someone who could use a sweet surprise.
Recipe FAQs
- → How long do they need to chill?
-
Chill for at least 2 hours to allow the base and topping to firm up. For cleaner slices, refrigerate longer or briefly freeze before cutting.
- → Can I melt the chocolate on the stovetop instead of the microwave?
-
Yes. Use a double boiler: place a heatproof bowl over simmering water and stir until smooth, then remove from heat and swirl in the peanut butter until combined.
- → How can I make these gluten-free?
-
Replace graham cracker crumbs with a gluten-free cookie crumb or gluten-free oat crumbs. Ensure all packaged ingredients are labeled gluten-free.
- → What gives the best texture for the base?
-
A smooth, creamy peanut butter yields a dense, fudgy base. For added bite, use chunky peanut butter or fold in chopped roasted peanuts before pressing into the pan.
- → How should leftovers be stored?
-
Keep bars in an airtight container in the refrigerator for up to one week. Layer parchment between pieces to prevent sticking.
- → Can I adjust sweetness or saltiness?
-
Yes. Reduce powdered sugar slightly for less sweetness, or finish with a pinch of flaky sea salt on the chocolate topping to enhance contrast.