 Save
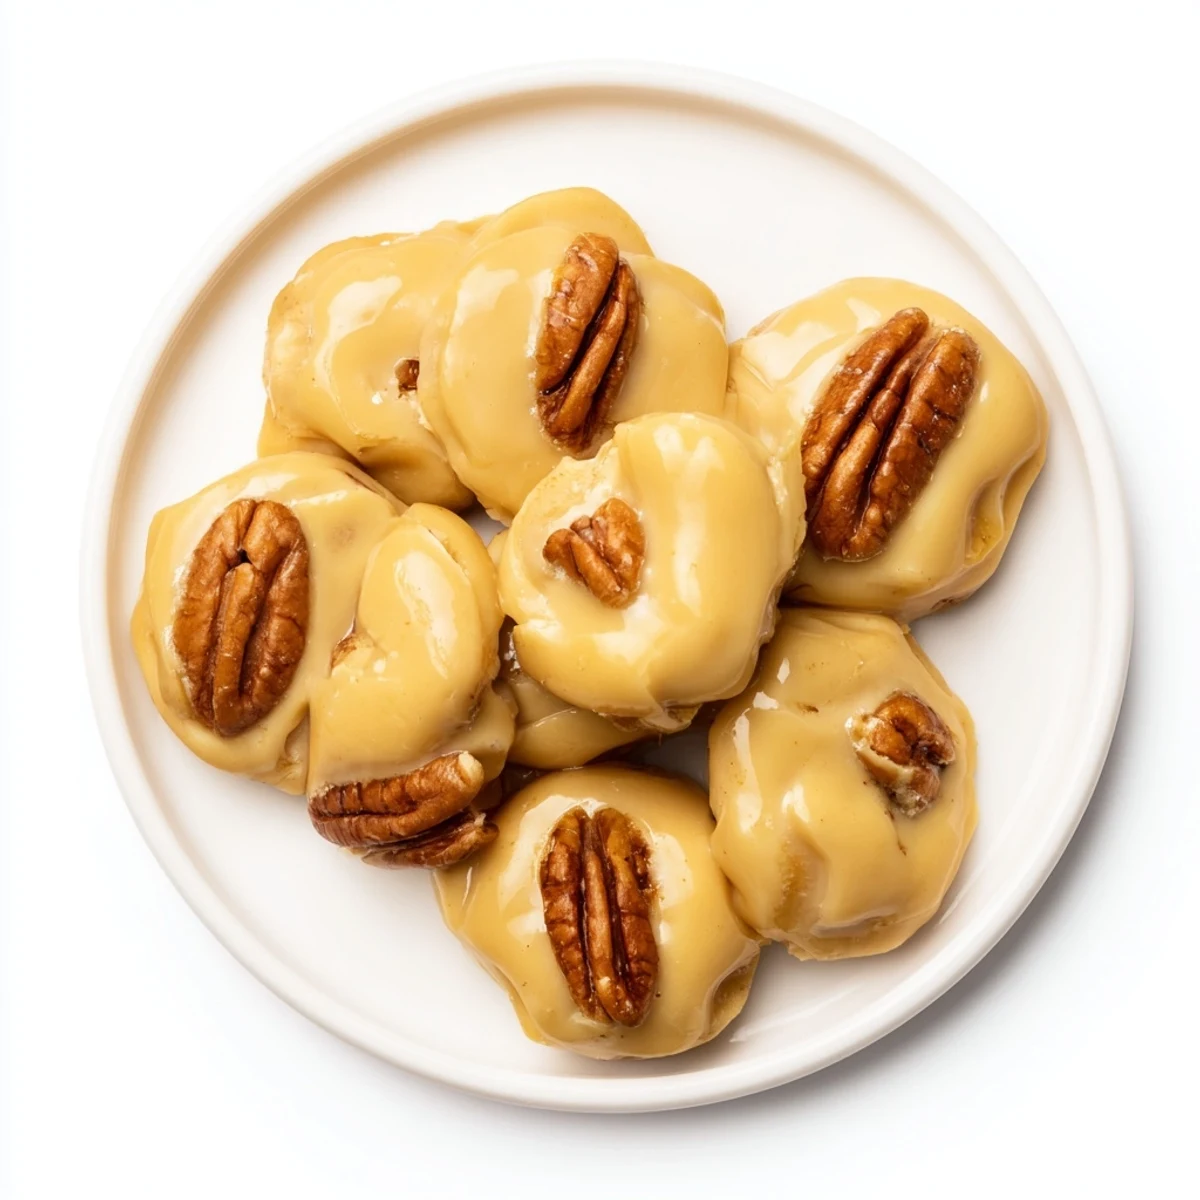
Save Experience the indulgent charm of Mardi Gras with these creamy pecan pralines, blending toasted pecans and buttery smoothness into every bite. Crafted over gentle heat, the mixture reaches a perfect soft-ball stage before cooling into melt-in-the-mouth sweets. Lightly toasted pecans enrich the texture and flavor, while a touch of vanilla adds aromatic warmth. Best stored airtight and enjoyed within a week, these Southern-inspired delights are simple yet decadent treats.
The first time I attempted pralines, I stood in my tiny kitchen watching sugar crystals form on the sides of the pan like some kind of edible chemistry experiment. A friend from Baton Rouge had been talking about these candied pecans for months, describing how her grandmother made them look effortless during Mardi Gras season. Three failed batches later, I finally understood why these confections inspire such devotion—and why patience matters more than precision.
I made these for a Fat Tuesday party last year, setting out a platter beside king cake and wondering if anyone would notice. Within fifteen minutes, the pralines had vanished, and my neighbor who never eats sugar was pressing me for the recipe. Something about that buttery sweetness brings out the joy in people, turns ordinary conversations into laughter, makes a Tuesday night feel like a celebration.
Ingredients
- Heavy cream: This creates that signature creamy texture that separates pralines from brittle
- Unsalted butter: Cut into pieces beforehand so it melts evenly into the sugar mixture
- Granulated sugar: The foundation of the candy structure
- Light brown sugar: Adds depth and that gorgeous caramel color
- Pecan halves: Toast them first if you want an extra layer of flavor
- Vanilla extract: Pure extract makes all the difference here
- Salt: Just a pinch to balance all that sweetness
Instructions
- Get everything ready first:
- Line a baking sheet with parchment paper and measure all ingredients before turning on the stove—candy work waits for no one.
- Combine and melt:
- Combine the granulated sugar, brown sugar, heavy cream, butter, and salt in a heavy-bottomed saucepan over medium heat, stirring constantly until the butter melts and the mixture comes to a boil.
- Watch the temperature:
- Attach a candy thermometer and continue cooking, stirring frequently, until the mixture reaches 238°F (114°C)—the soft-ball stage—which takes about 8 to 10 minutes.
- Add the flavor:
- Remove from heat immediately and stir in the vanilla extract and pecan halves until the nuts are evenly distributed.
- The crucial stirring phase:
- Continue stirring vigorously for about 2 to 3 minutes, watching the mixture thicken and become creamy while still being pourable.
- Shape quickly:
- Drop spoonfuls onto the prepared baking sheet, working fast and spacing them apart so they do not spread into each other.
- Let them set:
- Allow the pralines to cool completely at room temperature until firm, which takes about 20 minutes.
 Save
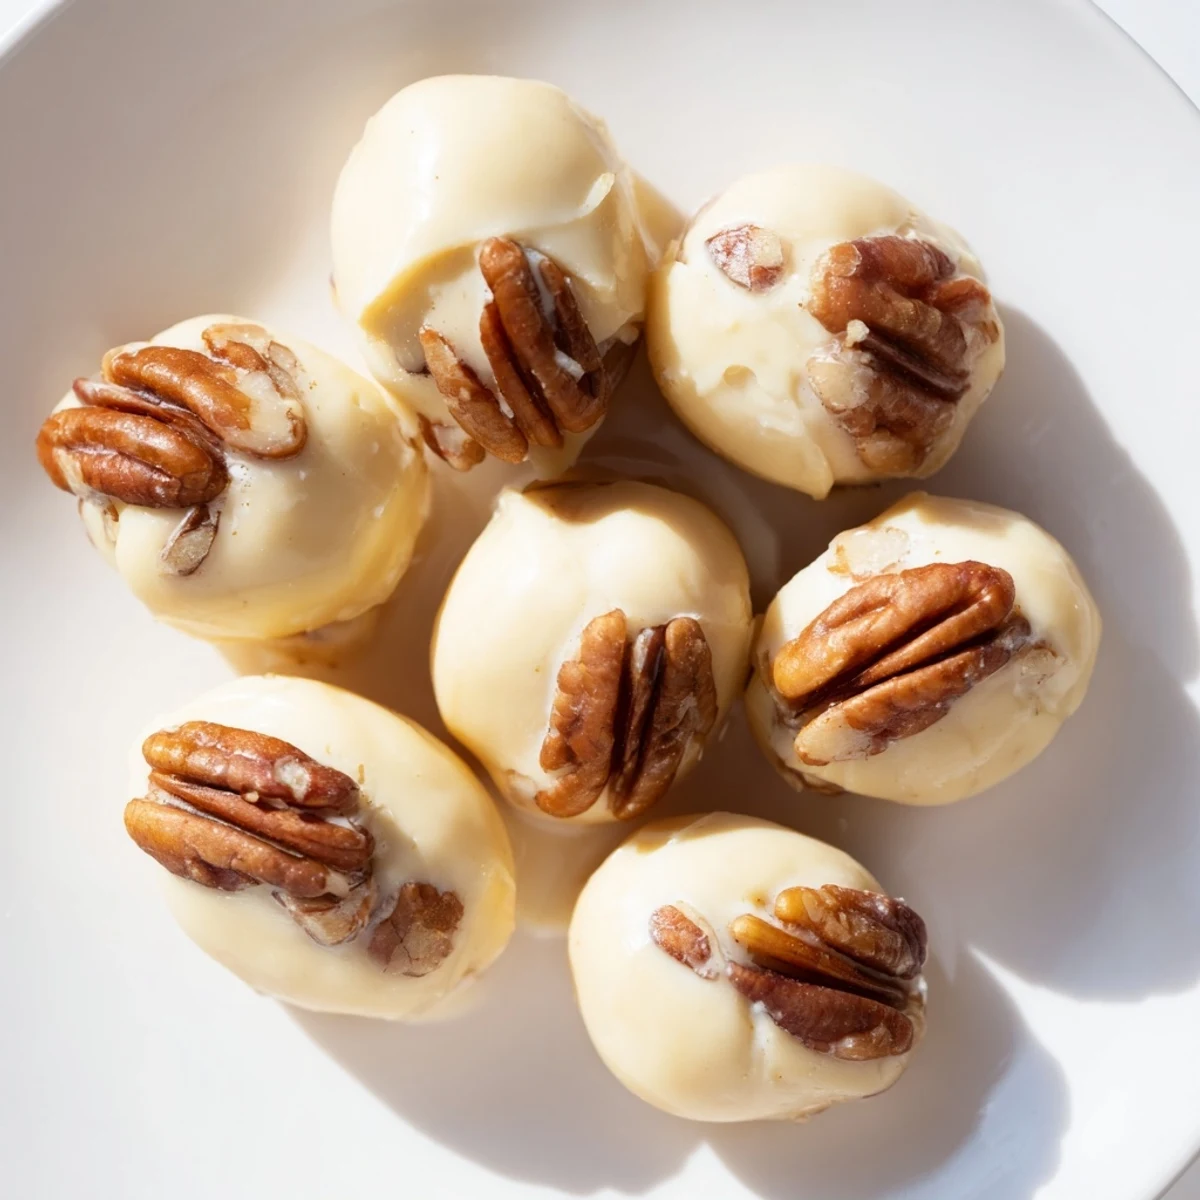
Save My daughter helped me make a batch during her first visit home after college, and we ended up eating more warm pralines off the parchment than made it into the storage container. Now every time she smells butter and sugar melting together, she calls to ask if it is praline weather yet.
Mastering the Temperature
The soft-ball stage sounds technical but it is simply the point where a drop of syrup forms a soft ball in cold water. Too low and your pralines will not set, too high and they turn into crunchy rocks. A good candy thermometer eliminates most of the guesswork, though older cooks will tell you they can tell by the bubbles.
The Stirring Technique
That vigorous stirring after removing from heat is what creates the creamy texture. As the mixture cools slightly, it transforms from glossy to matte, from liquid to something with body. Stop too soon and they spread into flat puddles, stir too long and they become unworkable in the pan.
Storing and Gifting
These pralines keep beautifully in an airtight container at room temperature for up to a week, though they rarely last that long in my house. I have found they make excellent gifts layered in parchment paper inside a decorative tin, especially during the holidays.
- Wrap each praline individually in wax paper if you are stacking them
- Add a tiny piece of bread to the container to keep them from getting too sticky
- They freeze surprisingly well if you want to make them ahead for a big event
 Save
Save There is something deeply satisfying about making candy, about transforming simple ingredients into something that feels like celebration. I hope these pralines find their way into your kitchen and become part of your own traditions.
Recipe FAQs
- → What is the ideal cooking temperature for the pralines?
-
The mixture should reach the soft-ball stage at 238°F (114°C) to achieve the perfect creamy texture.
- → How can I enhance the flavor of pecans?
-
Lightly toasting the pecans before adding them intensifies their nuttiness and adds depth to the pralines.
- → What tools are essential for making these pralines?
-
A heavy-bottomed saucepan, candy thermometer, wooden spoon or spatula, baking sheet, and parchment paper are recommended.
- → How long can the pralines be stored?
-
Store them in an airtight container at room temperature for up to 1 week to maintain freshness.
- → What causes the mixture to thicken before scooping?
-
If the mixture hardens too soon, placing the pan briefly over low heat will loosen it for easier dropping.
- → Are there common allergens in this confection?
-
Yes, the pralines contain dairy (cream, butter) and tree nuts (pecans), which are common allergens.