 Save
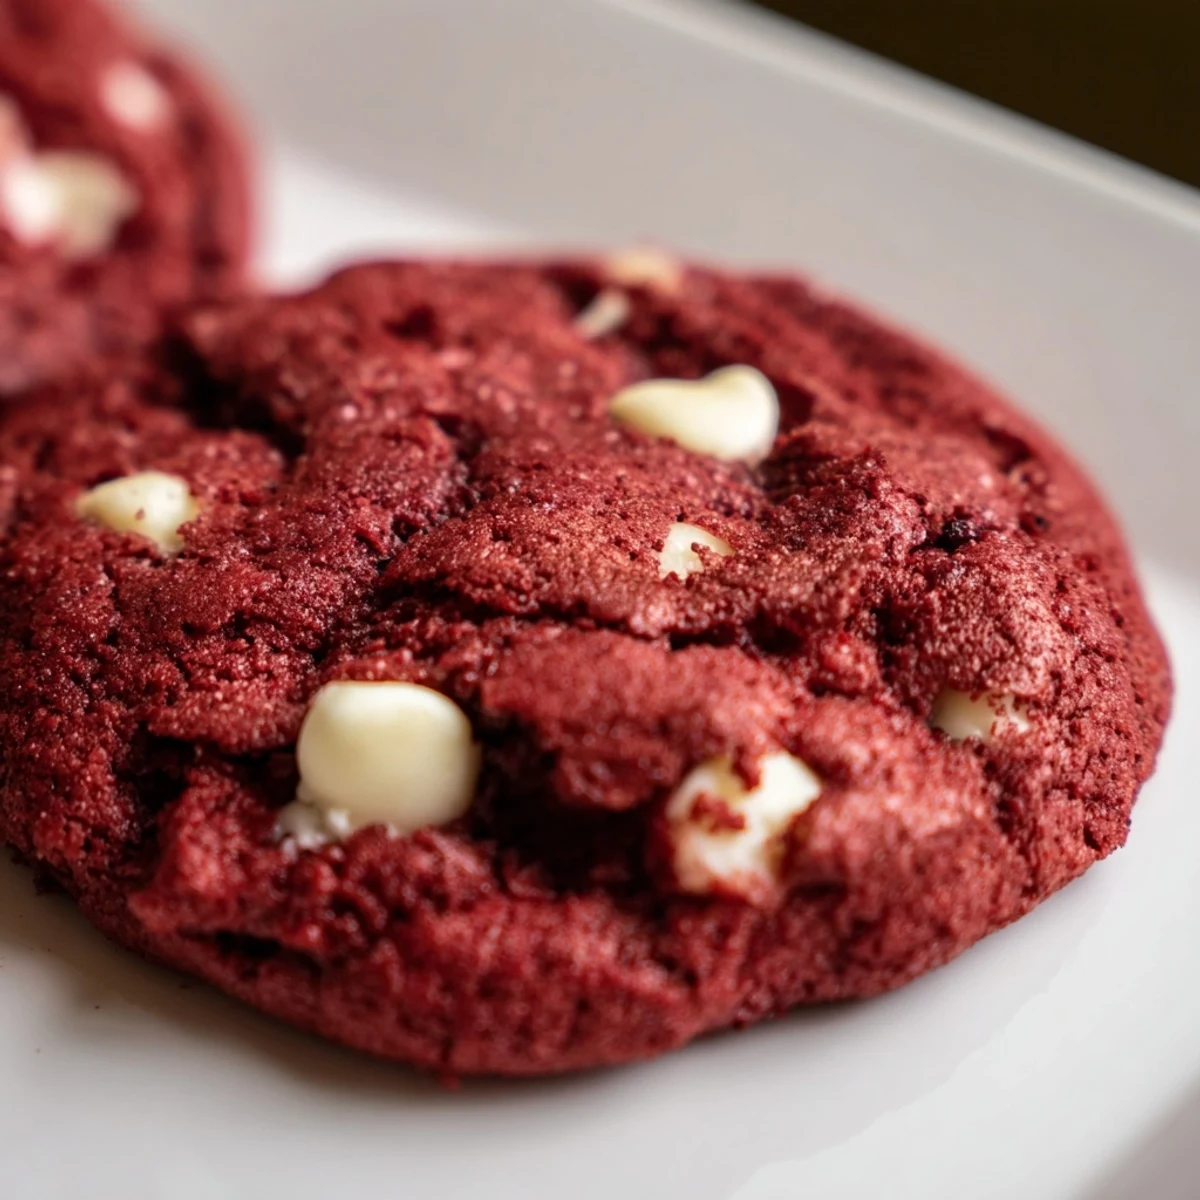
Save These soft red velvet cookies capture everything we love about the classic cake—hints of cocoa, that signature tangy depth, and stunning crimson hue—but in portable treat form. The dough comes together quickly with softened butter and vegetable oil creating an exceptionally tender texture, while white chocolate chips add creamy sweetness that perfectly balances the cocoa's subtle bitterness.
Bake until edges are set but centers remain slightly soft for that irresistible chewy texture. The white vinegar is essential here—it activates the baking soda and enhances that traditional red velvet tang we all know and love.
The bright crimson dough against my grandmother's cream colored kitchen counters is something I still think about every time I break out the red food coloring. I was twelve and convinced I had discovered the most magical recipe in existence, mostly because it turned everything scarlet and smelled like chocolate bakery heaven. Those cookies disappeared faster than any batch I have made since, possibly because my brother kept stealing them off the cooling rack.
Last Christmas my neighbor knocked on my door three days after I dropped off a holiday plate, practically begging for the recipe. Her husband had eaten six in one sitting and she needed to know what kind of sorcery I had baked into those crimson treats. I laughed so hard pulling out my phone to text her the ingredient list.
Ingredients
- All purpose flour: The structure builder that keeps these cookies from spreading too thin in the oven
- Unsweetened cocoa powder: Just enough to give that signature red velvet depth without overpowering the delicate flavor
- Baking soda: Creates those lovely cracks on top and helps the cookies rise properly
- Salt: Never skip this even in desserts because it makes every other flavor pop
- Unsalted butter: Softened to room temperature so it creams beautifully with the sugars
- Vegetable oil: The secret to keeping these cookies incredibly soft days after baking
- Granulated and brown sugar: The combo gives crisp edges and chewy centers
- Large eggs: Room temperature eggs incorporate better into the dough for consistent texture
- Vanilla extract: Use the good stuff because you really taste it here
- Red food coloring: Gel coloring gives the most vibrant red without adding too much liquid
- White vinegar: Reacts with baking soda for extra tenderness and that classic red velvet tang
- White chocolate chips: The creamy sweetness that makes these completely irresistible
Instructions
- Get your oven ready:
- Preheat to 350°F (175°C) and line two baking sheets with parchment paper so nothing sticks and cleanup is a breeze.
- Mix the dry team:
- Whisk together flour, cocoa powder, baking soda, and salt in a medium bowl until well combined.
- Cream the butter mixture:
- Beat softened butter, oil, and both sugars for about 2 minutes until the mixture looks fluffy and pale.
- Add the wet ingredients:
- Beat in eggs one at a time, then mix in vanilla, red food coloring, and vinegar until everything is incorporated.
- Combine everything:
- Gradually mix in the dry ingredients just until you do not see dry streaks anymore.
- Fold in the chips:
- Gently stir in the white chocolate chips until evenly distributed throughout the bright red dough.
- Scoop and space:
- Drop about 2 tablespoons of dough per cookie onto prepared sheets, leaving 2 inches between each one.
- Bake to perfection:
- Bake for 11 to 13 minutes until edges look set but centers still appear slightly soft.
- Cool completely:
- Let the cookies rest on the baking sheet for 5 minutes before moving them to a wire rack.
 Save
Save My daughter now helps me make these every Valentine's Day, her small hands covered in pink stained dough as she sneakily eats chocolate chips off the counter. She insists these are love cookies because we only make them for special occasions worth celebrating.
Making Ahead
Scoop the dough balls onto a parchment lined baking sheet and freeze until solid, then transfer to a freezer bag for up to three months. Bake from frozen adding just 1 to 2 minutes to the baking time for freshly baked cookies anytime the craving strikes.
Storage Secrets
Store completely cooled cookies in an airtight container with a slice of white bread to keep them soft and chewy for almost a week. The bread acts as a moisture buffer and keeps those white chocolate chips perfectly creamy.
Perfect Presentation
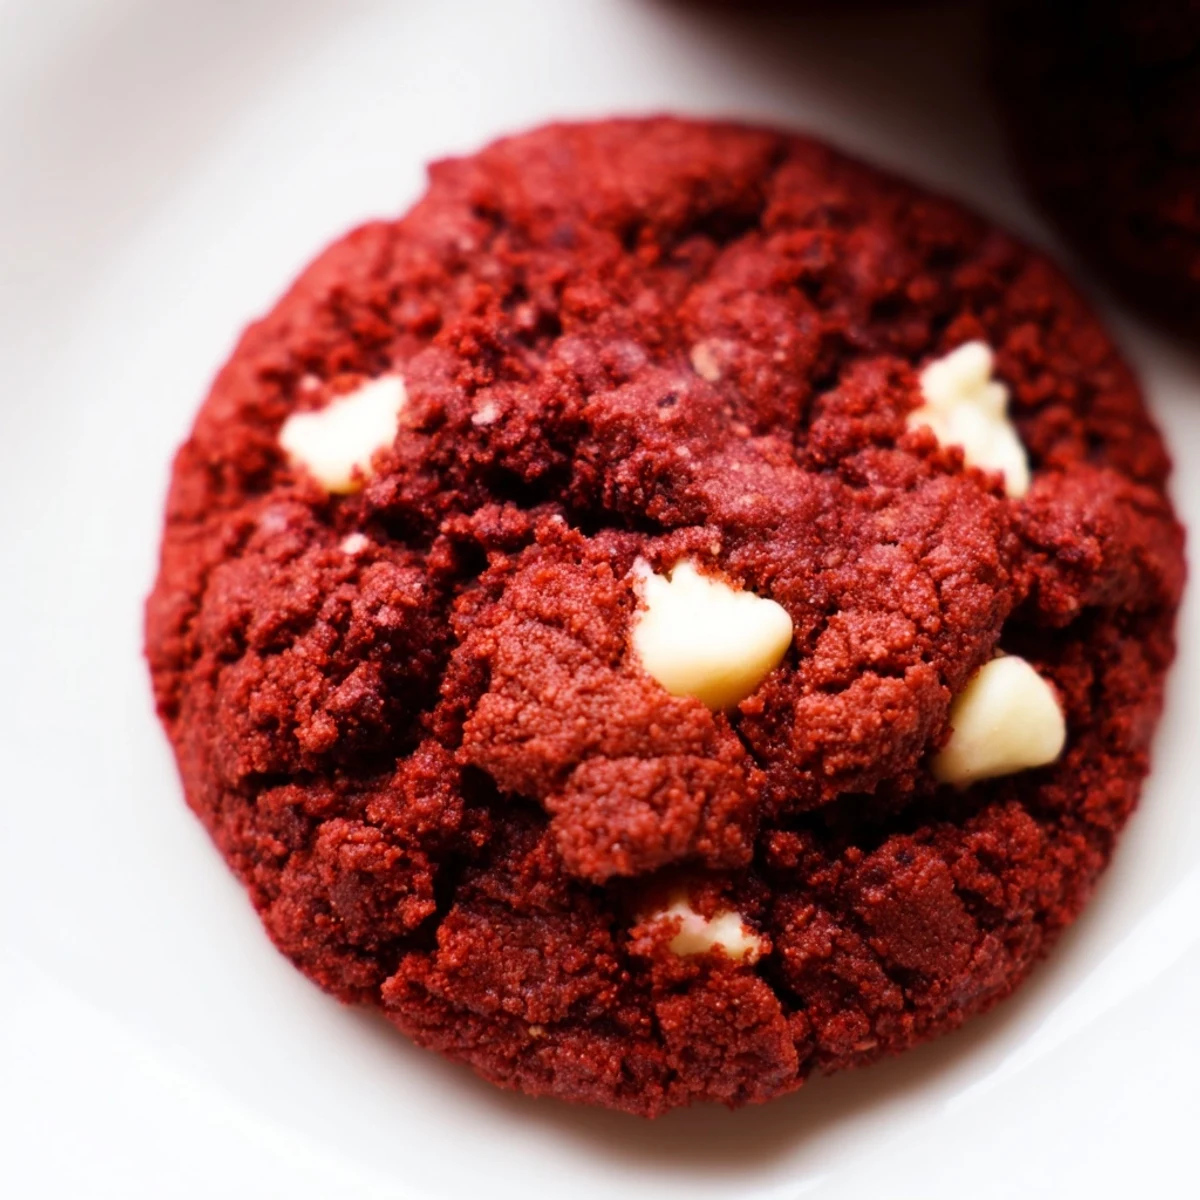
These look stunning stacked on a white cake stand or arranged on a wooden board for parties. The deep red color contrasts beautifully with the white chocolate chips making them practically photogenic.
- Try rolling the dough balls in sparkling sugar before baking for a festive sparkle
- Drizzle melted white chocolate over cooled cookies for an extra pretty finishing touch
- Package a few in clear bags tied with red ribbon for easy homemade gifts
 Save
Save There is something about pulling that first tray of glowing red cookies from the oven that still makes me feel like that excited kid in my grandmother's kitchen.
Recipe FAQs
- → Why add vinegar to red velvet cookies?
-
White vinegar activates the baking soda for proper lift while enhancing the signature tangy flavor that defines red velvet. It also helps deepen the red color when combined with cocoa powder.
- → Can I use natural food coloring?
-
Natural options like beet juice or raspberry powder work, though they'll produce a more muted berry-red rather than vibrant crimson. Gel coloring typically yields the most intense red shade with less liquid added to the dough.
- → Why use both butter and oil?
-
Butter provides rich flavor while oil keeps these soft and chewy for days. This combination creates tender cookies that don't spread too thin and maintain their texture better than butter-only versions.
- → How do I know when they're done baking?
-
The edges should appear set and slightly firm while centers look soft and underdone. They'll continue cooking on the hot baking sheet, so removing them while centers still look slightly raw ensures perfectly chewy results.
- → Can I freeze the dough?
-
Scoop dough onto a baking sheet and freeze until solid, then transfer to an airtight container. Bake from frozen, adding 1-2 minutes to the baking time. Frozen dough keeps well for up to 3 months.
- → What if I don't have white chocolate chips?
-
Semisweet chocolate chips create a classic cookies-and-cream flavor profile, while dark chocolate intensifies the cocoa notes. Milk chocolate makes them sweeter, and chopped white chocolate bars melt into delicious puddles.