 Save
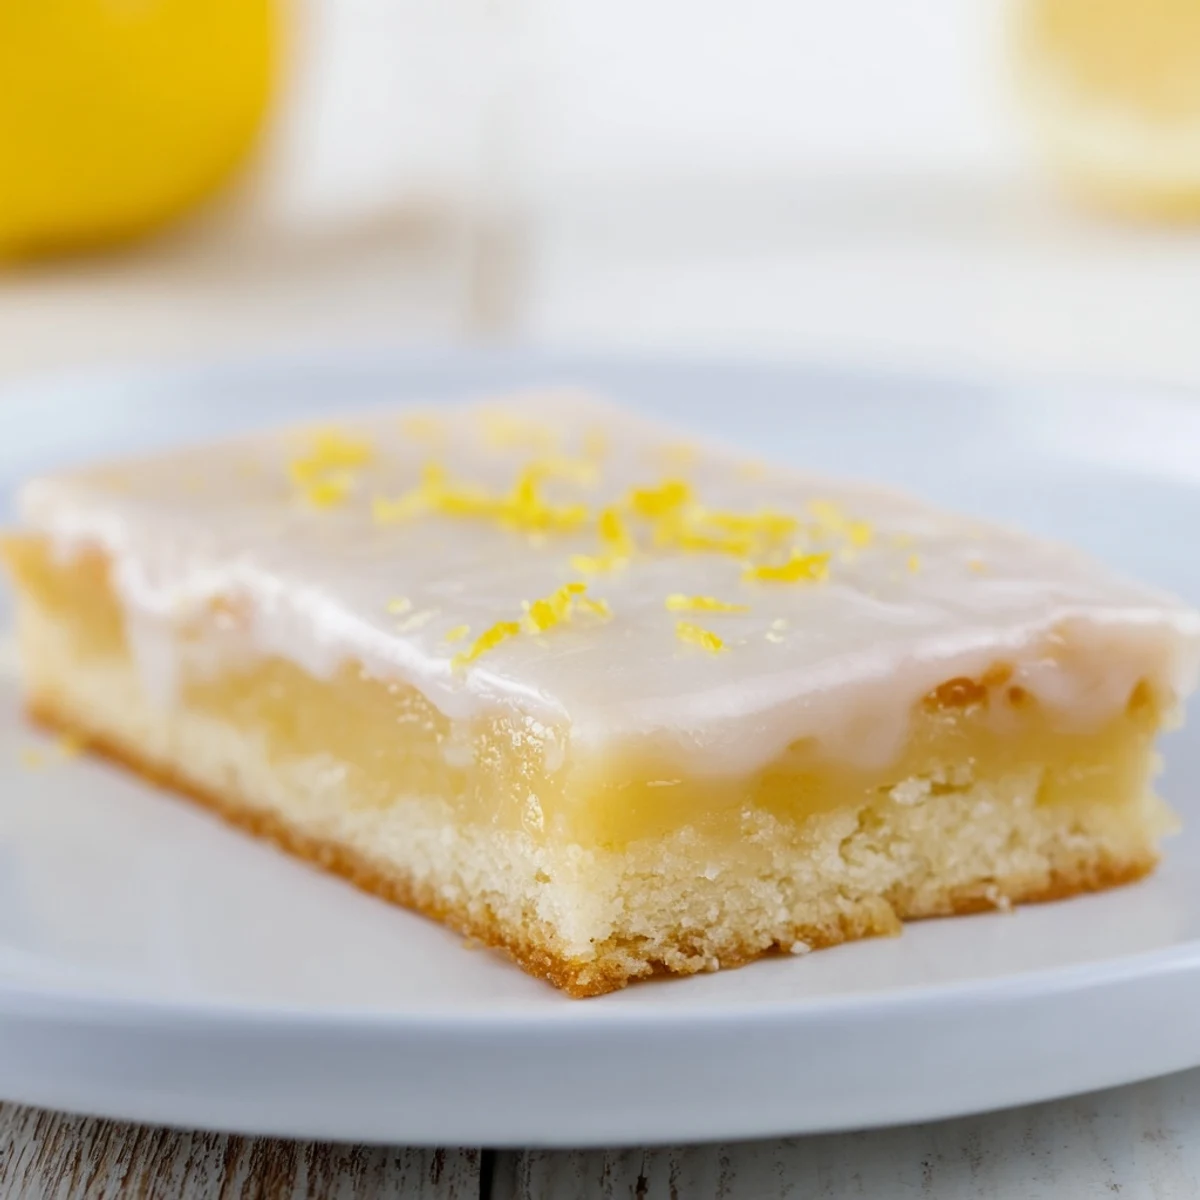
Save These lemon bars feature a crisp shortbread base topped with a smooth, tangy lemon filling. The luscious glaze adds a sweet, zesty finish that balances the flavors beautifully. With simple preparation and careful baking, the bars become a vibrant dessert offering a perfect blend of tartness and sweetness. Serve chilled or at room temperature for an inviting citrus treat that's both refreshing and satisfying.
Last summer, my neighbor brought over an armful of fresh lemons from her tree, and I stood in my kitchen staring at this sunny yellow bounty wondering what to create. Something about lemon desserts feels like capturing sunshine in a bite, and these bars became my go-to way to celebrate citrus season. The first time I made them, my kitchen filled with this incredible buttery aroma that had my family gathering around the oven before they even finished baking.
I brought these to a potluck last spring and watched my friend Sarah literally close her eyes after her first bite, humming happily. Three people asked for the recipe before the dessert table even cleared out. Theres something about lemon bars that feels special without being fussy, like they belong at both casual weeknight dinners and fancy brunch gatherings.
Ingredients
- 1 cup unsalted butter softened: Room temperature butter makes all the difference for achieving that perfectly tender shortbread texture that practically melts on your tongue
- 1/2 cup granulated sugar: Just enough sweetness to balance the crust without competing with the bright lemon flavor
- 2 cups all purpose flour: The foundation of your crust, measured carefully for that classic sandy shortbread consistency
- 1/4 tsp salt: A tiny pinch that elevates all the flavors and keeps the crust from tasting flat
- 1 1/2 cups granulated sugar: This might seem like a lot but lemon needs sweetness to let its citrus brightness really shine through
- 1/4 cup all purpose flour: Just enough to give the filling body while keeping it silky smooth
- 4 large eggs: Room temperature eggs will blend more easily and create that gorgeous custard like texture
- 2/3 cup freshly squeezed lemon juice: Fresh is absolutely essential here, bottled juice just does not have that same vibrant punch
- 1 tbsp finely grated lemon zest: This is where all that fragrant lemon oil lives, do not skip this step
- 1 cup powdered sugar sifted: Sifting prevents lumps in your glaze so it finishes perfectly smooth and professional looking
- 2 3 tbsp freshly squeezed lemon juice: Adjust this to get your ideal glaze consistency, thicker for a frosted look or thinner for a drizzle
- 1 tsp finely grated lemon zest: Adds one final pop of fresh lemon fragrance and beautiful speckles to the finished bars
Instructions
- Get your oven and pan ready:
- Preheat your oven to 350F and line a 9x13 inch baking pan with parchment paper, letting the edges hang over like handles, this will save you so much trouble later when removing the bars.
- Make the buttery shortbread crust:
- Cream together the softened butter and sugar until its light and fluffy, then mix in the flour and salt until it forms a soft dough, pressing it evenly into your prepared pan.
- Bake until golden:
- Slide the crust into the oven for 18 to 20 minutes, watching for those light golden edges that tell you it is perfectly done.
- Whisk up the bright lemon filling:
- While the crust bakes, whisk together the sugar and flour, then add eggs, lemon juice, and zest, whisking until everything is completely smooth.
- Add the filling and bake again:
- Pour that beautiful lemon mixture right over the hot crust and return it to the oven for another 18 to 20 minutes, until the center is just set with no wobble.
- Let everything cool completely:
- Set the pan on a wire rack and let it cool for about an hour, rushing this step will make cutting messy and the texture wont be as perfect.
- Prepare the zesty glaze:
- Whisk together the powdered sugar, lemon juice, and zest until you have a smooth pourable consistency, then spread it evenly over the completely cooled bars.
- Cut and serve your beautiful creation:
- Let the glaze set for 20 to 30 minutes, then use those parchment handles to lift the whole thing out and slice into 16 squares with a sharp knife.
 Save
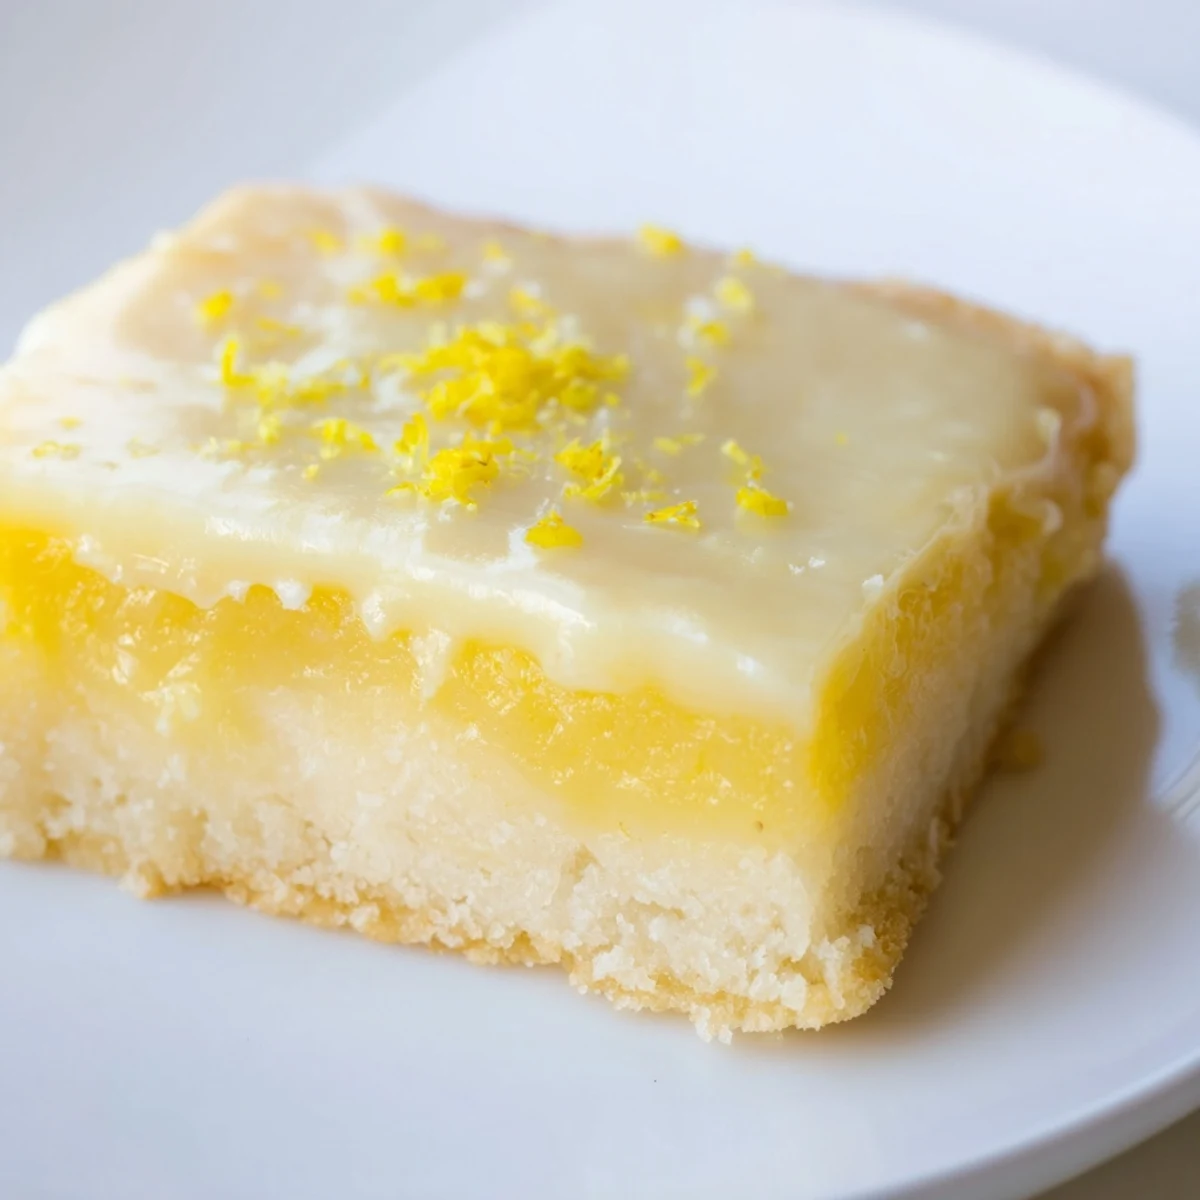
Save These bars have become my signature contribution to summer barbecues and winter holidays alike, somehow feeling appropriate in every season. My dad now requests them specifically for his birthday instead of cake, which might be the highest compliment a dessert has ever received in our family.
Making Ahead
I have learned that these bars actually taste better on day two, after all the flavors have had time to meld together in the refrigerator. The crust becomes more sturdy and the lemon filling develops this incredible depth. You can make the entire recipe up to two days before serving, just keep them chilled and glaze right before you are ready to serve.
Choosing Your Lemons
Not all lemons are created equal, and I have found that thin skinned varieties like Eureka or Lisbon give the most juice and zest. Roll your lemons firmly on the counter before cutting to break down the membranes and maximize juice extraction. The zest contains all those fragrant oils, so use a microplane and gently grate only the yellow part, avoiding the bitter white pith beneath.
Perfect Presentation
Clean knife cuts make all the difference between homemade looking bars and ones that could have come from a bakery. Run your knife under hot water and wipe it clean between each slice for those picture perfect edges. Chilling the bars for at least 30 minutes before cutting helps them hold their shape beautifully, though serving them at room temperature lets the flavors really shine.
- A small offset spatula makes spreading the glaze perfectly even so your bars look professional
- If you want extra pizzazz, add a tiny pinch of sea salt to the glaze for that salted lemon effect
- Room temperature ingredients blend more easily, so take your butter and eggs out about 30 minutes before starting
 Save
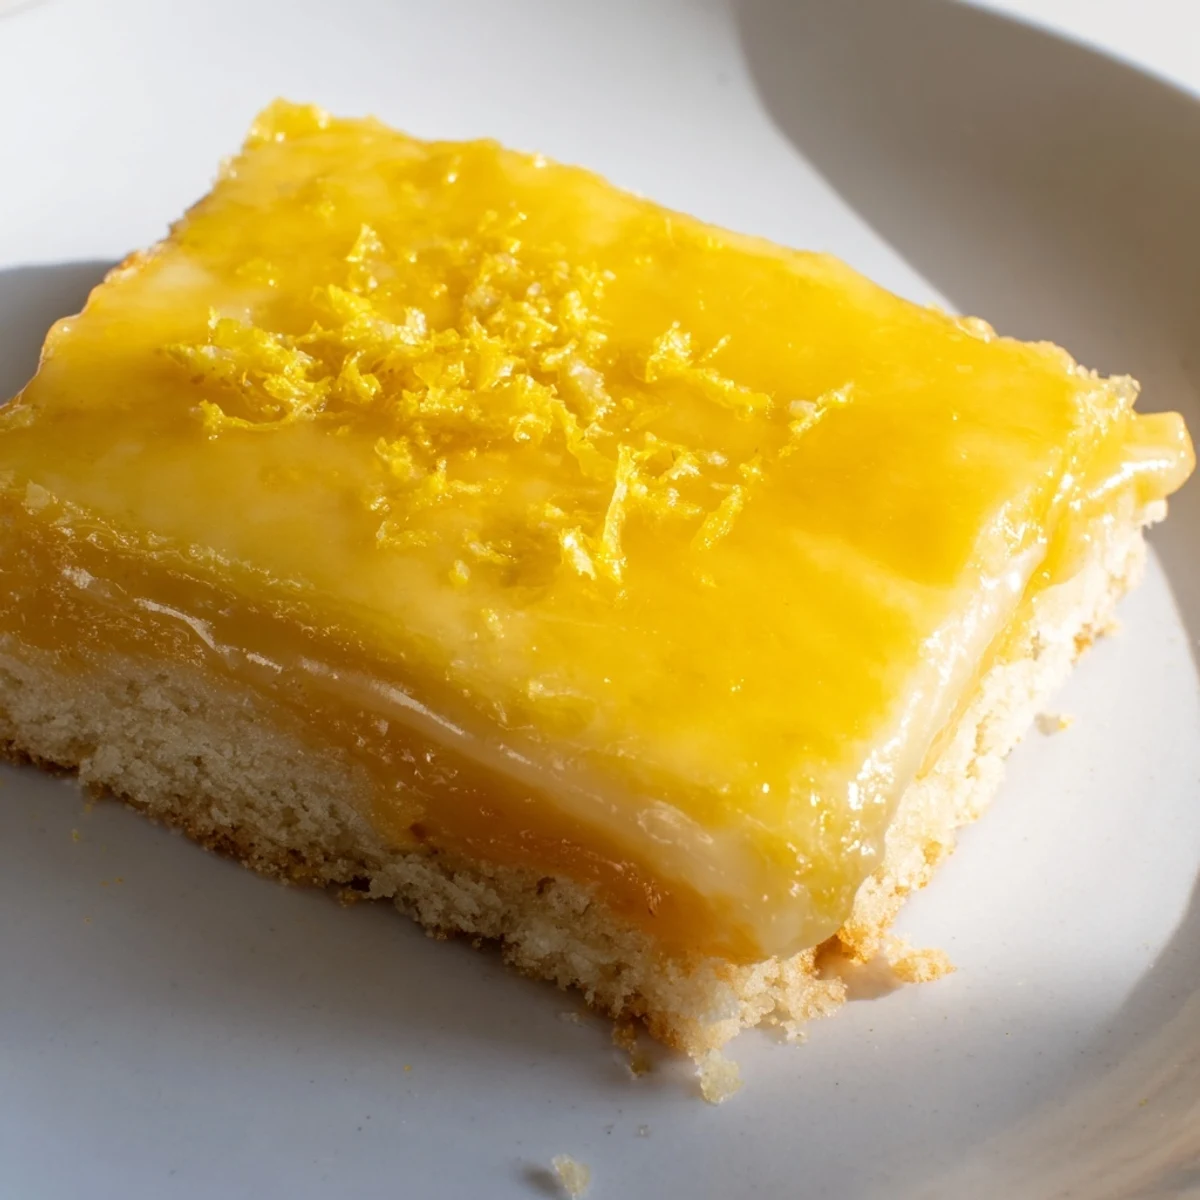
Save There is something deeply satisfying about serving these bright cheerful bars and watching people is faces light up with that first tangy sweet bite. They are the kind of dessert that makes any gathering feel a little more special.
Recipe FAQs
- → What type of crust is used for these lemon bars?
-
A buttery shortbread crust forms the base, providing a crisp and rich foundation.
- → How is the lemon filling prepared?
-
The filling combines sugar, flour, eggs, fresh lemon juice, and zest whisked until smooth and baked over the crust.
- → What gives the bars their sweet glaze?
-
The glaze is made by mixing powdered sugar with fresh lemon juice and zest, offering a bright and sweet topping.
- → How long should the bars cool before glazing?
-
Allow the bars to cool completely, about an hour, before spreading the glaze to ensure proper setting.
- → Can these bars be stored after preparation?
-
Yes, store them in an airtight container in the refrigerator for up to five days to maintain freshness.