 Save
Save Craft authentic sourdough bread using wild yeast starter for that distinctive tangy flavor and superior texture. This method combines time-honored techniques with accessible home kitchen methods.
The process begins with an autolyse resting period, followed by rhythmic stretch and fold movements to develop gluten strength. A long room temperature fermentation encourages natural yeast activity, while overnight cold fermentation deepens the complex sour notes.
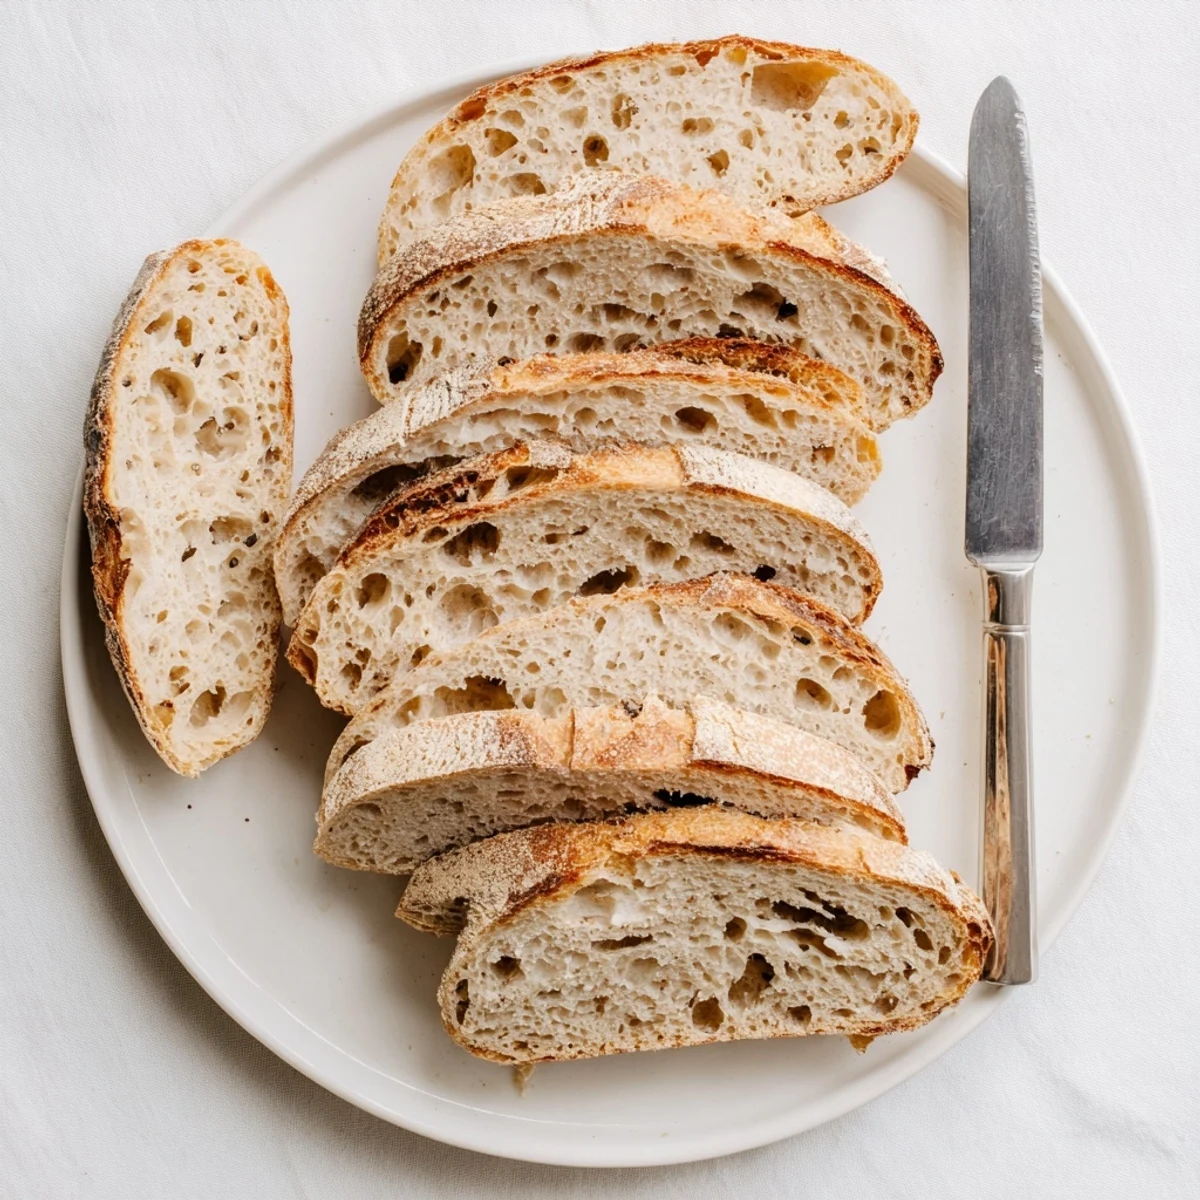
Baking in a preheated Dutch oven creates steam, resulting in the coveted crackling crust and tender interior. The 24-hour journey from mixing to slicing rewards patience with bakery-quality loaves featuring deep golden crusts and open crumbs perfect for butter, cheese, or favorite spreads.
The smell of sourdough baking has this way of taking over the whole house, sinking into curtains and settling in your clothes. My first loaf was a dense, sad brick that I insisted on eating anyway, mostly out of pride. Now after years of baking, I've learned that good bread is mostly about patience and paying attention to the little things happening in that bowl.
I started keeping my starter on the kitchen counter instead of the fridge, and suddenly baking became part of my daily rhythm instead of a weekend project. There's something deeply satisfying about tending to a living thing that rewards you with such incredible food. My neighbor now texts me when she smells the bread coming out of the oven.
Ingredients
- Bread flour: Higher protein content gives you that beautiful oven spring and chewy crumb structure
- Water: Room temperature works best for consistent fermentation timing
- Sourdough starter: Must be actively bubbling and fed within the last 12 hours for reliable rise
- Fine sea salt: Controls fermentation and enhances flavor development
Instructions
- Mix and autolyse:
- Combine flour and water in a large bowl until no dry flour remains, then cover and rest for 1 hour to let hydration begin working
- Incorporate starter:
- Add your active starter and salt, then mix thoroughly until the dough comes together in a shaggy mass
- Build strength:
- Perform stretch and folds every 30 minutes for 2 hours, pulling dough up from the sides and folding it over the center
- Bulk fermentation:
- Cover and let rise at room temperature for 4 to 6 hours until the dough has roughly doubled in size
- Shape the loaf:
- Turn dough onto a lightly floured surface and shape into a tight round or oval, creating surface tension
- Cold proof:
- Place seam side up in a floured proofing basket, cover, and refrigerate for 8 to 12 hours
- Preheat:
- Heat oven to 230°C (450°F) with your Dutch oven inside for at least 30 minutes
- Score and bake:
- Gently invert dough onto parchment, score the top with a sharp blade, then bake covered for 20 minutes
- Finish baking:
- Remove the lid and bake another 20 minutes until the crust is deep golden brown
- Cool completely:
- Let the loaf rest on a wire rack for at least 1 hour before slicing to set the crumb
 Save
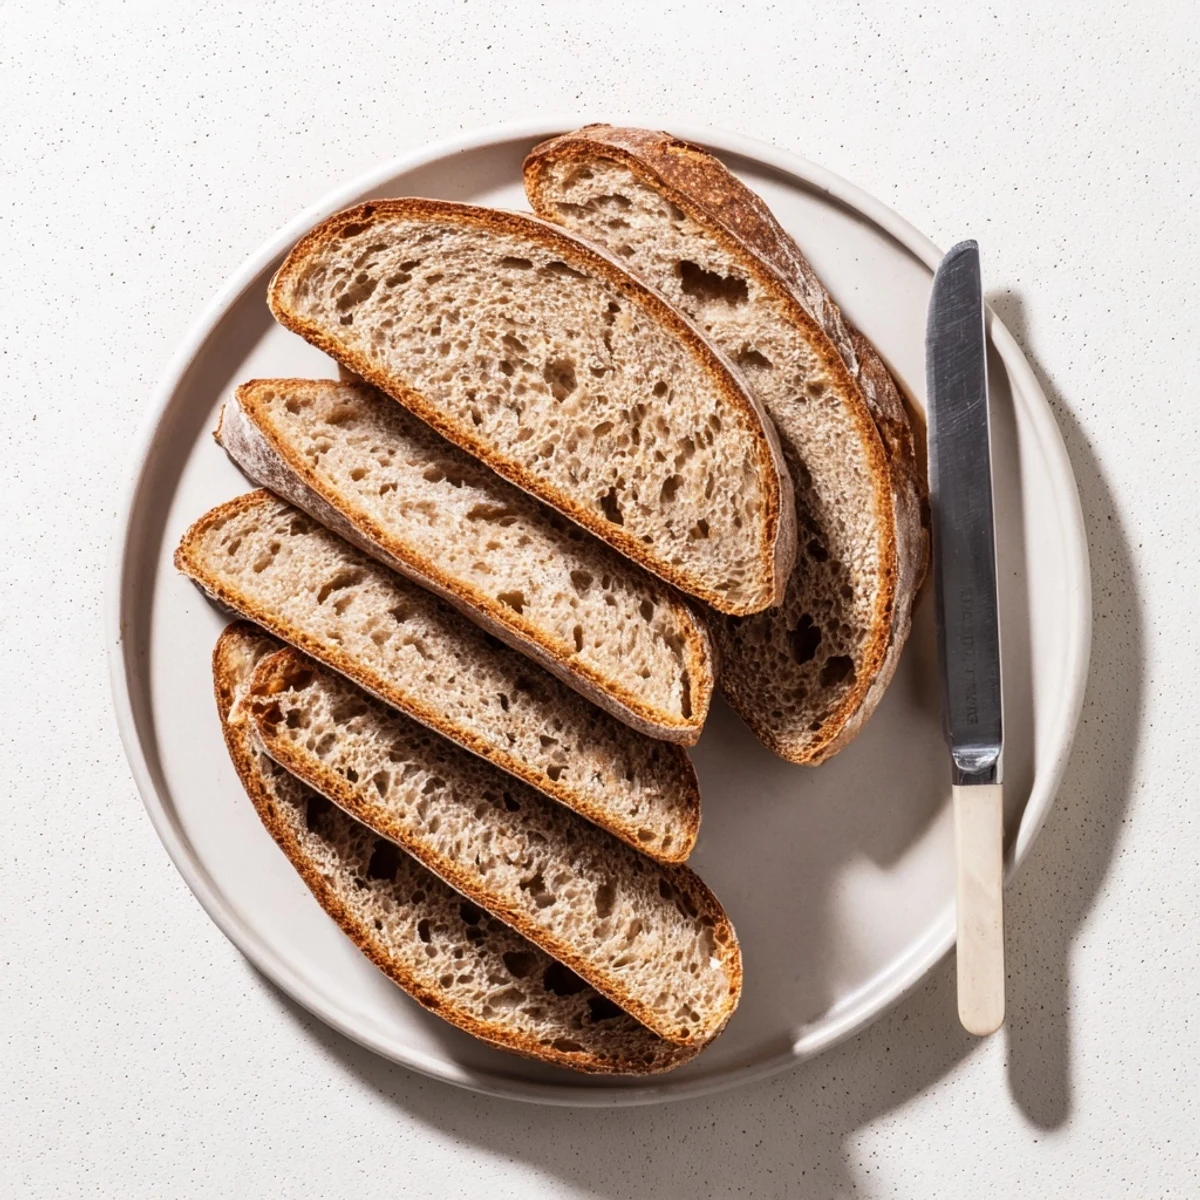
Save The morning I finally achieved that professional looking ear on my scored loaf felt like winning the lottery. My partner now asks for sourdough toast every single weekend, and I'm happy to oblige.
Understanding Your Starter
Your starter is alive, which means it responds to temperature, feeding schedule, and flour type. I've learned that a cold starter from the fridge needs at least two feedings at room temperature before it's ready to bake with. Watch for bubbles and that distinctive fermented aroma.
Shaping Confidence
The first few times I shaped dough I was terrified of degassing it, but gentle handling is all you need. Use a dough scraper to keep things tidy and work on a lightly floured surface. The goal is creating surface tension that will help the loaf hold its shape in the oven.
Steam Creates Crust
The Dutch oven traps steam during the first part of baking, which is what gives you that crackling, crispy crust. I've tried adding ice cubes to hot pans and spraying water, but nothing compares to the simplicity of baking inside a preheated pot.
- Spritzing your dough with water right before scoring helps the blade glide
- A second Dutch oven lets you bake two loaves at once
- Let your oven preheat for longer than you think is necessary
 Save
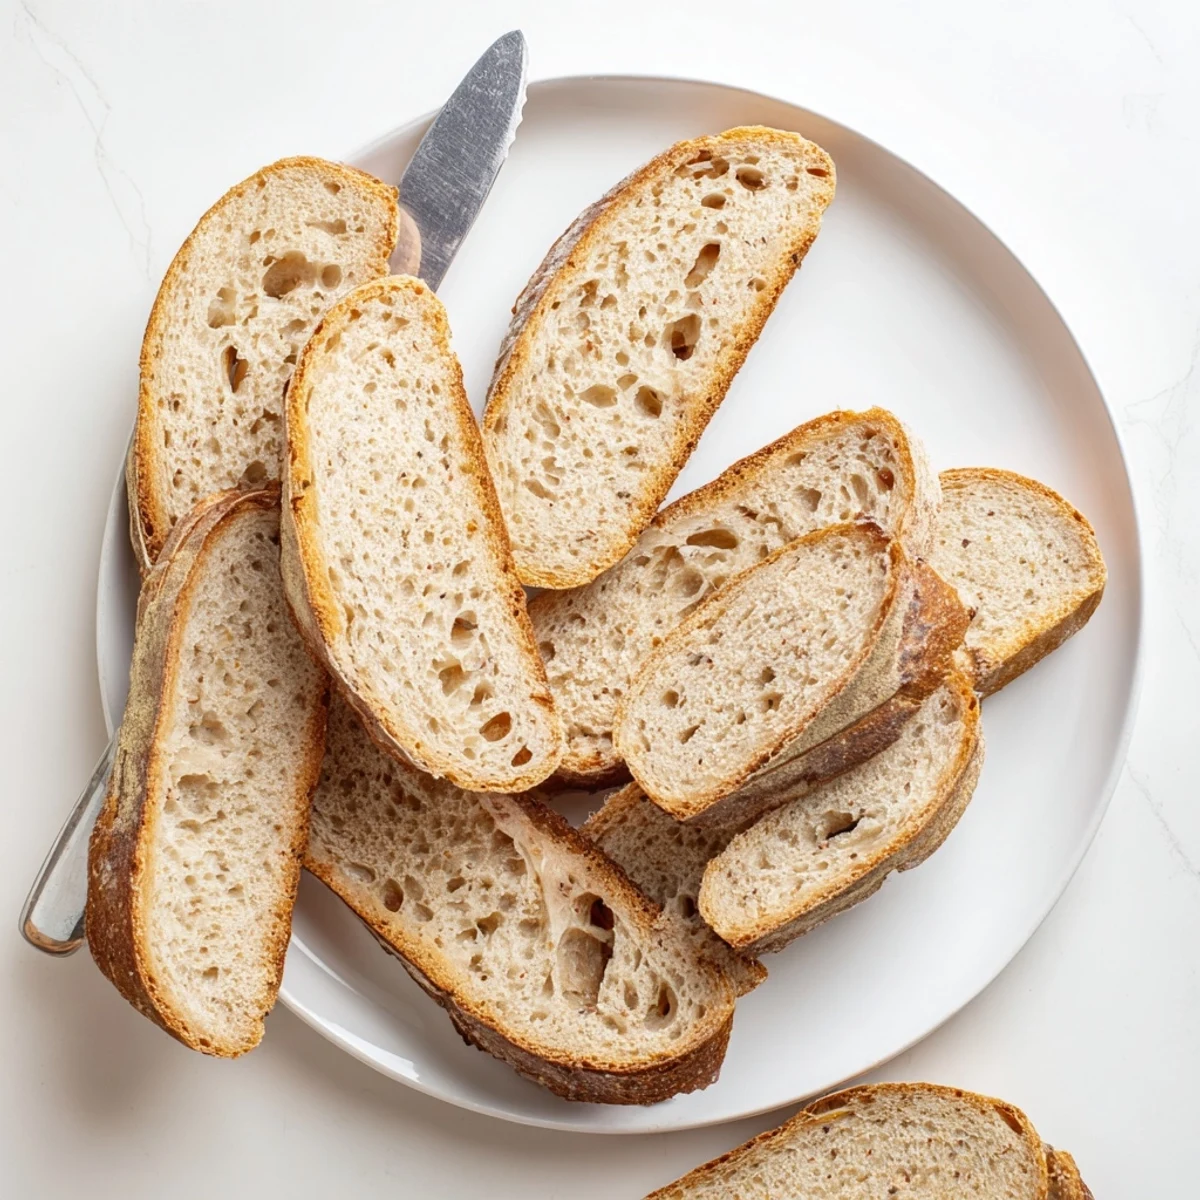
Save There's nothing quite like warm sourdough with salted butter, especially on a quiet morning when the house is still yours.
Recipe FAQs
- → What makes sourdough different from regular bread?
-
Sourdough relies on wild yeast and beneficial bacteria naturally present in flour rather than commercial yeast. This creates lactic acid during fermentation, giving the bread its characteristic tangy flavor and making it easier to digest.
- → How do I know if my starter is active enough?
-
A healthy starter should double in size within 4-8 hours after feeding, show plenty of bubbles throughout, and have a pleasant slightly sour aroma. It should float when dropped in water.
- → Can I skip the cold fermentation in the refrigerator?
-
While you can proof at room temperature for 2-3 hours instead, cold fermentation develops superior flavor and makes the dough easier to handle. The extended chilling creates a more complex, tangy profile.
- → Why is a Dutch oven recommended for baking?
-
A preheated Dutch oven traps steam from the dough, creating a humid environment that allows the crust to expand rapidly before hardening. This produces the dramatic oven spring and crisp, crackling crust characteristic of artisan loaves.
- → How should I store the finished loaf?
-
Store at room temperature in a paper bag or bread box for up to 3 days. Avoid plastic as it traps moisture and makes the crust soft. For longer storage, slice and freeze in airtight bags, toasting individual slices as needed.