 Save
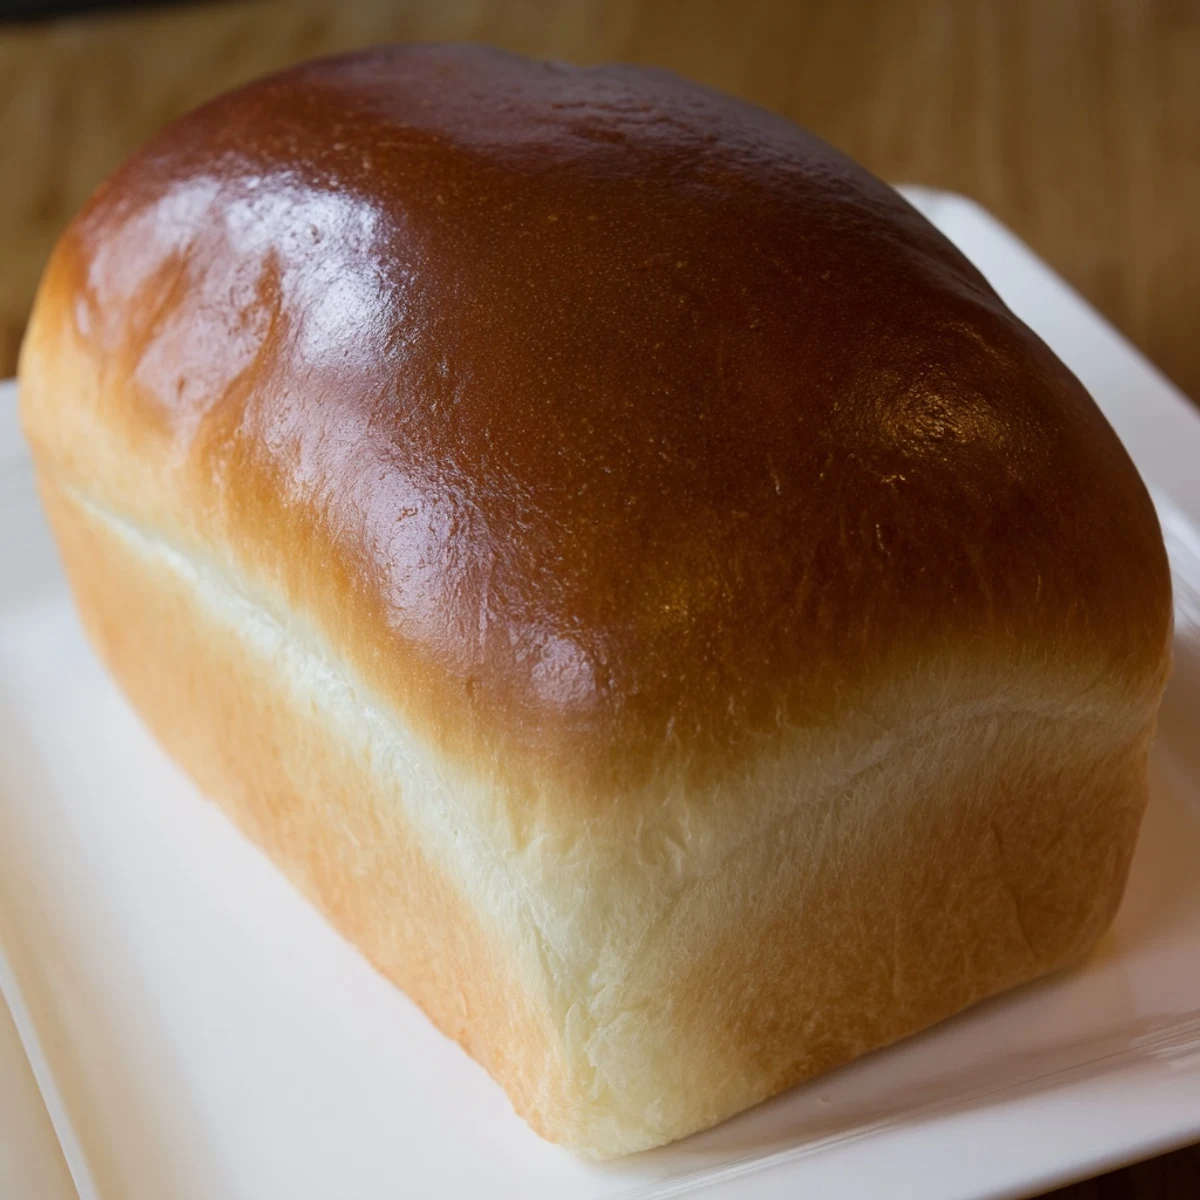
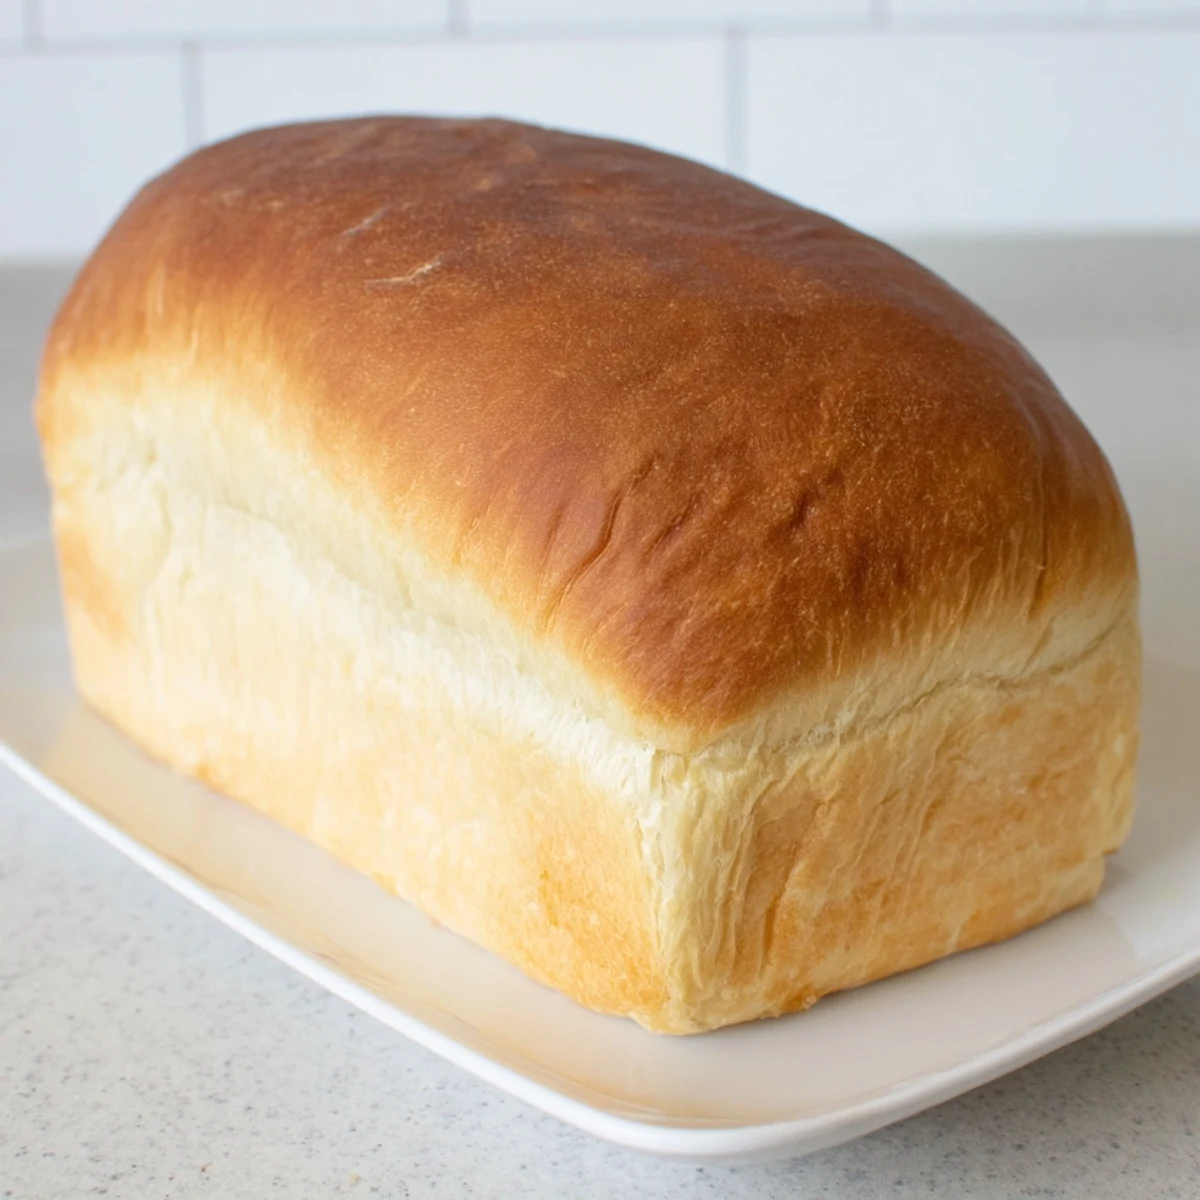
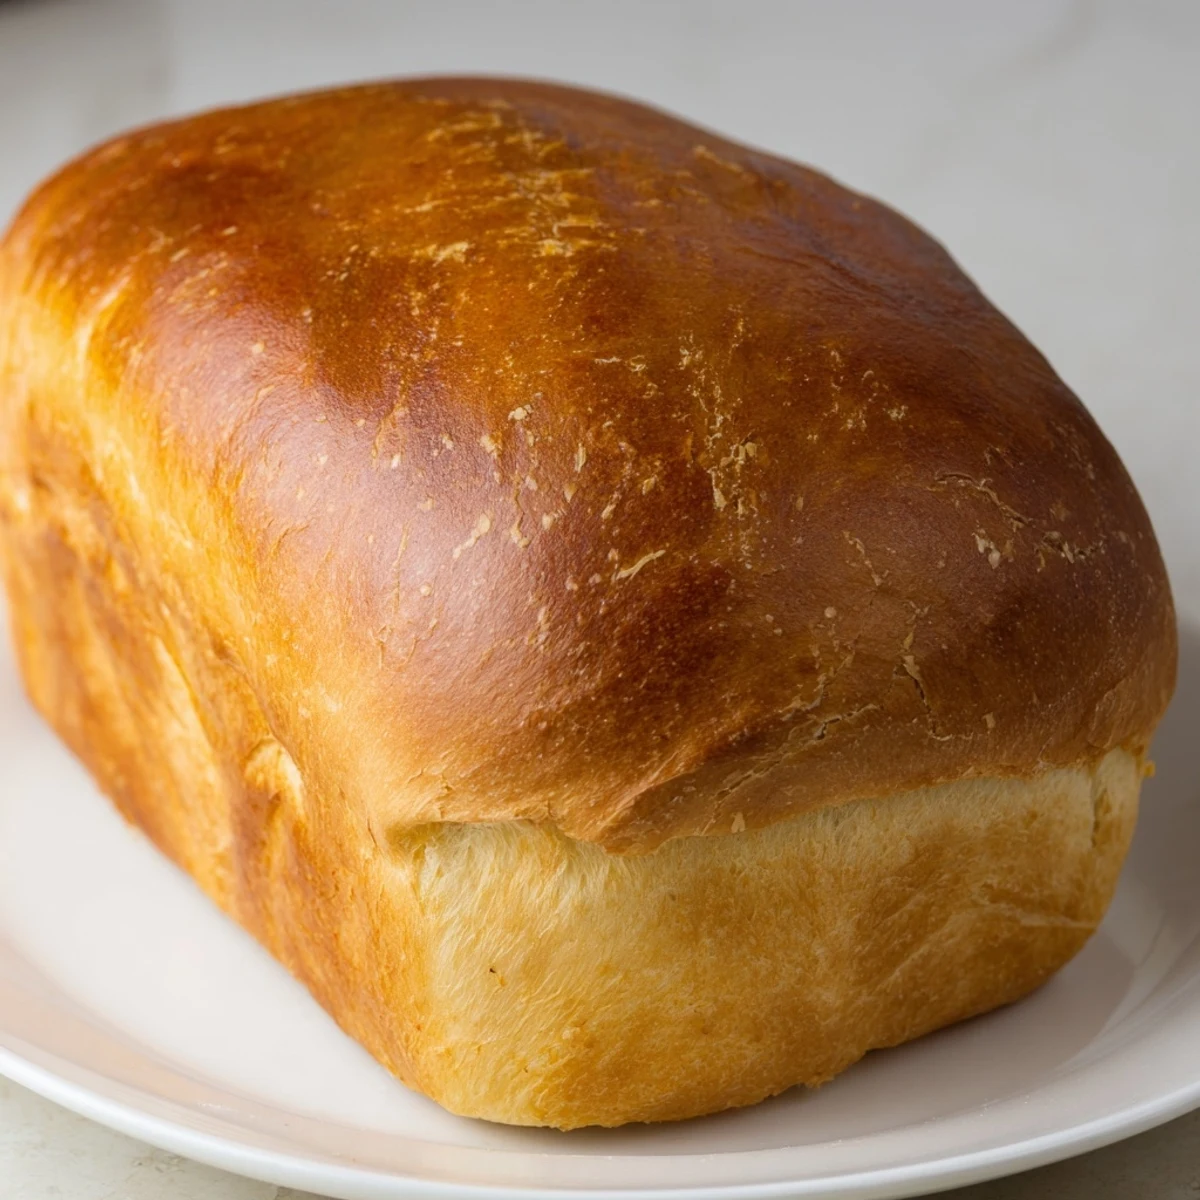
Save Create two beautiful loaves of tender, slightly sweet white bread using simple pantry staples. This classic American-style dough rises to perfection, yielding a soft interior with a golden crust. The 2.5-hour process includes active prep time of just 20 minutes, followed by two rising periods that develop the bread's signature fluffy texture. Ideal for beginners, this dough handles beautifully and bakes consistently.
The resulting loaves deliver that beloved homemade warmth—perfect for morning toast, lunchtime sandwiches, or simply sliced fresh with melting butter. The slight sweetness makes it exceptionally versatile for both sweet and savory applications.
The first time I pulled these loaves from the oven, my entire apartment smelled like warmth itself. I had spent weeks trying to replicate the bread from an Amish market I visited as a child, but nothing ever came close until this recipe. The moment I tore into that first slice, still steaming and slathered with butter, I knew I had finally found it.
My grandmother used to say that bread making was about patience, not precision. I learned this lesson the hard way after years of rushing through rises and ending up with dense bricks. Now I treat each rise like a small meditation, watching the dough transform in the bowl while I sip coffee and catch up on reading.
Ingredients
- Warm water (about 43°C/110°F): Think bathwater temperature—too hot and you will kill your yeast, too cool and it will never wake up
- Granulated sugar: Feeds the yeast and creates that signature subtle sweetness that makes this bread so addictive
- Active dry yeast: The magic worker that turns flour and water into something extraordinary
- Salt: Do not skip this—it balances the sweetness and gives the bread structure
- Vegetable oil or melted butter: Keeps the bread tender and adds richness to every bite
- All-purpose flour (5 1/2–6 cups): Start with less and add only until the dough pulls away from the bowl—humidity matters more than recipes admit
Instructions
- Wake up the yeast:
- Dissolve your sugar in warm water, then sprinkle the yeast on top like gentle snow. Walk away for 5–10 minutes and let it foam up—that bubbling action tells you everything is alive and working.
- Build the dough foundation:
- Stir in the salt and oil, then add flour one cup at a time. Watch as your mixture transforms from shaggy to smooth, pulling away from the sides of the bowl when it has had just enough flour.
- Knead with intention:
- Turn the dough onto a floured surface and work it for 6–8 minutes, pushing forward with the heel of your hand and folding back over itself. You will feel the moment it becomes smooth, elastic, and almost alive beneath your palms.
- First rise—the waiting game:
- Place your dough in a greased bowl, cover it warmly, and find a cozy spot for it to double in size over the next hour. This is when the real magic happens.
- Shape and proof:
- Punch down the dough gently, divide it in half, and shape each piece into a loaf before nestling them into greased pans. Let them rise again until they crown about an inch above the rim.
- Bake to golden perfection:
- Slide those pans into a 350°F oven and let them bake for 25–30 minutes until they are beautifully bronzed and sound hollow when you tap them. Brush with melted butter while warm for the softest crust imaginable.
 Save
Save This bread became a weekend ritual during my first apartment living year. The smell would drift into the hallway, and neighbors started knocking on my door with butter in hand. Somehow, bread has a way of turning strangers into friends.
Temperature Matters
I learned that water temperature is make-or-break after killing too many batches with liquid that was too hot. Now I use my wrist like a baby bottle test—warm enough to feel cozy, never hot enough to sting.
The Rise
Some days the dough rises faster than expected, other days it takes forever. I stopped fighting the clock and started watching the dough itself. When it has doubled, it is ready—no matter what the recipe says.
Storage Secrets
Fresh bread vanishes faster than you expect in my house, but when it does linger, I learned a few tricks. A sliced loaf stays fresh longer in the freezer than the counter, and nothing beats having emergency bread ready for midnight toast cravings.
- Wrap cooled loaves tightly in plastic and freeze for up to three months
- Revive slightly stale bread with a quick warm in the oven at 300°F for 10 minutes
- Never store bread in the refrigerator—it actually stales faster there
 Save
Save There is something profoundly satisfying about turning four simple ingredients into bread that can feed a family. I hope this recipe becomes as beloved in your kitchen as it has in mine.
Recipe FAQs
- → What makes Amish white bread different from regular white bread?
-
Amish white bread typically has a slightly sweeter profile and softer texture than standard white bread, achieved through a higher sugar content and careful dough handling. The emphasis on gentle kneading and proper rising creates that characteristic fluffy interior.
- → Can I make this dough ahead of time?
-
Yes, after the first rise, you can punch down the dough, cover tightly, and refrigerate overnight. Let it come to room temperature and complete the second rise before baking. This actually enhances flavor development.
- → Why does my dough need to pull away from the bowl?
-
This indicates proper hydration and gluten development. When dough pulls away cleanly, it means you've added enough flour and the gluten strands are strong enough to hold shape without being sticky or dense.
- → How do I know when the bread is fully baked?
-
The loaves should be golden brown on top and sound hollow when tapped on the bottom. An instant thermometer inserted into the center should read 190-200°F. Underbaked bread will feel dense and gummy inside.
- → Can I substitute whole wheat flour?
-
You can replace up to half the all-purpose flour with whole wheat flour, though the texture will be denser and the loaf heavier. For best results, use white whole wheat flour and increase liquid slightly.
- → What's the purpose of brushing with butter after baking?
-
Brushing warm loaves with melted butter adds richness and creates a softer, more tender crust. The butter penetrates slightly, keeping the exterior from becoming too hard or crispy during cooling.