 Save
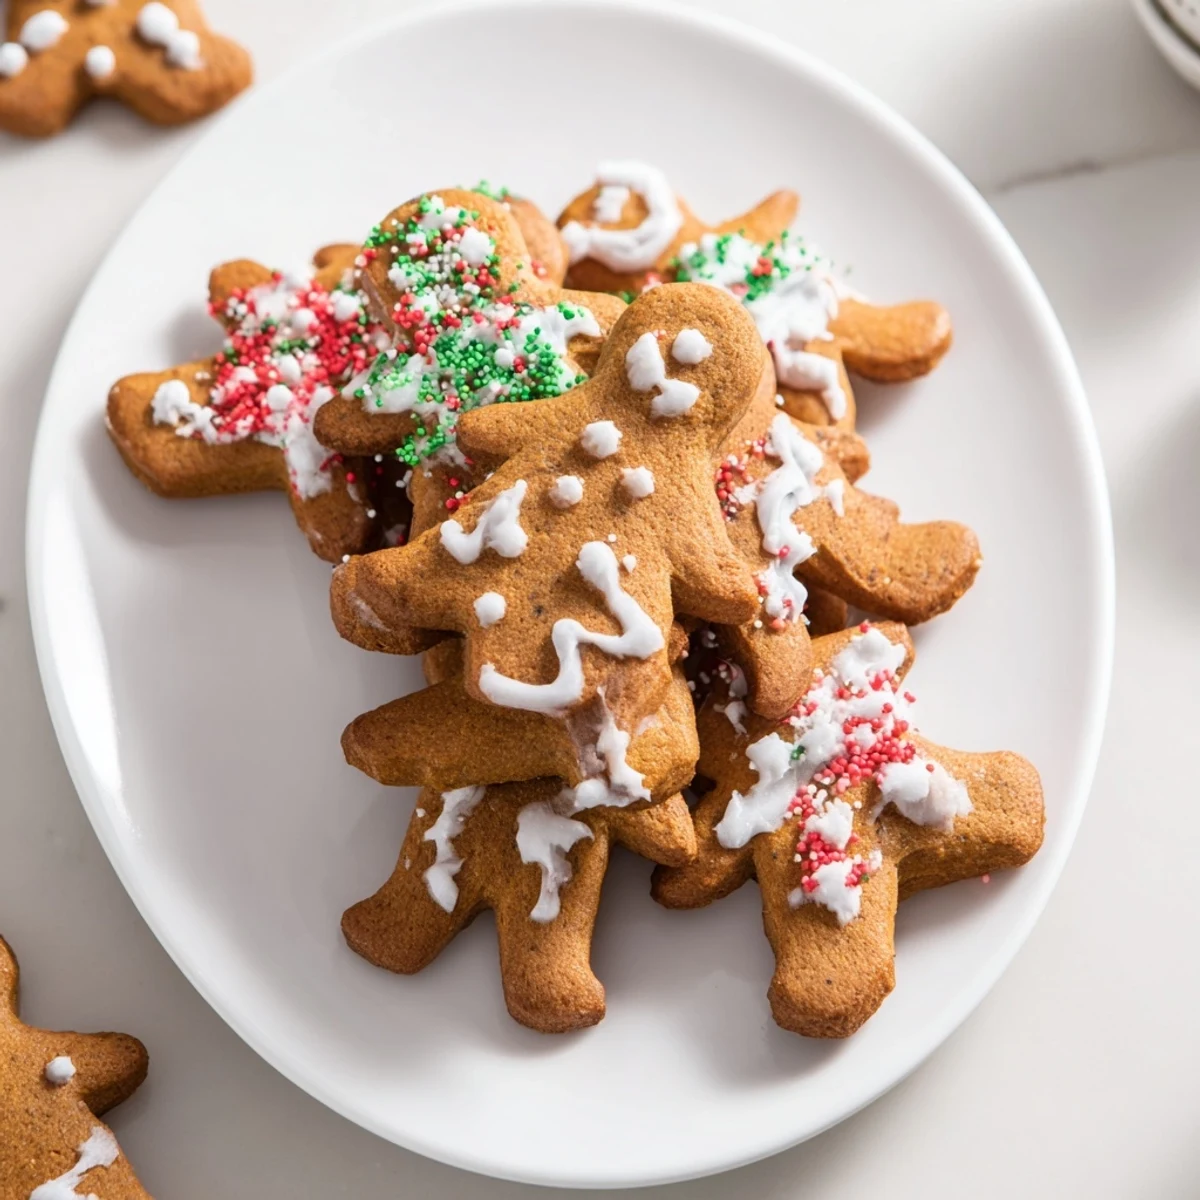
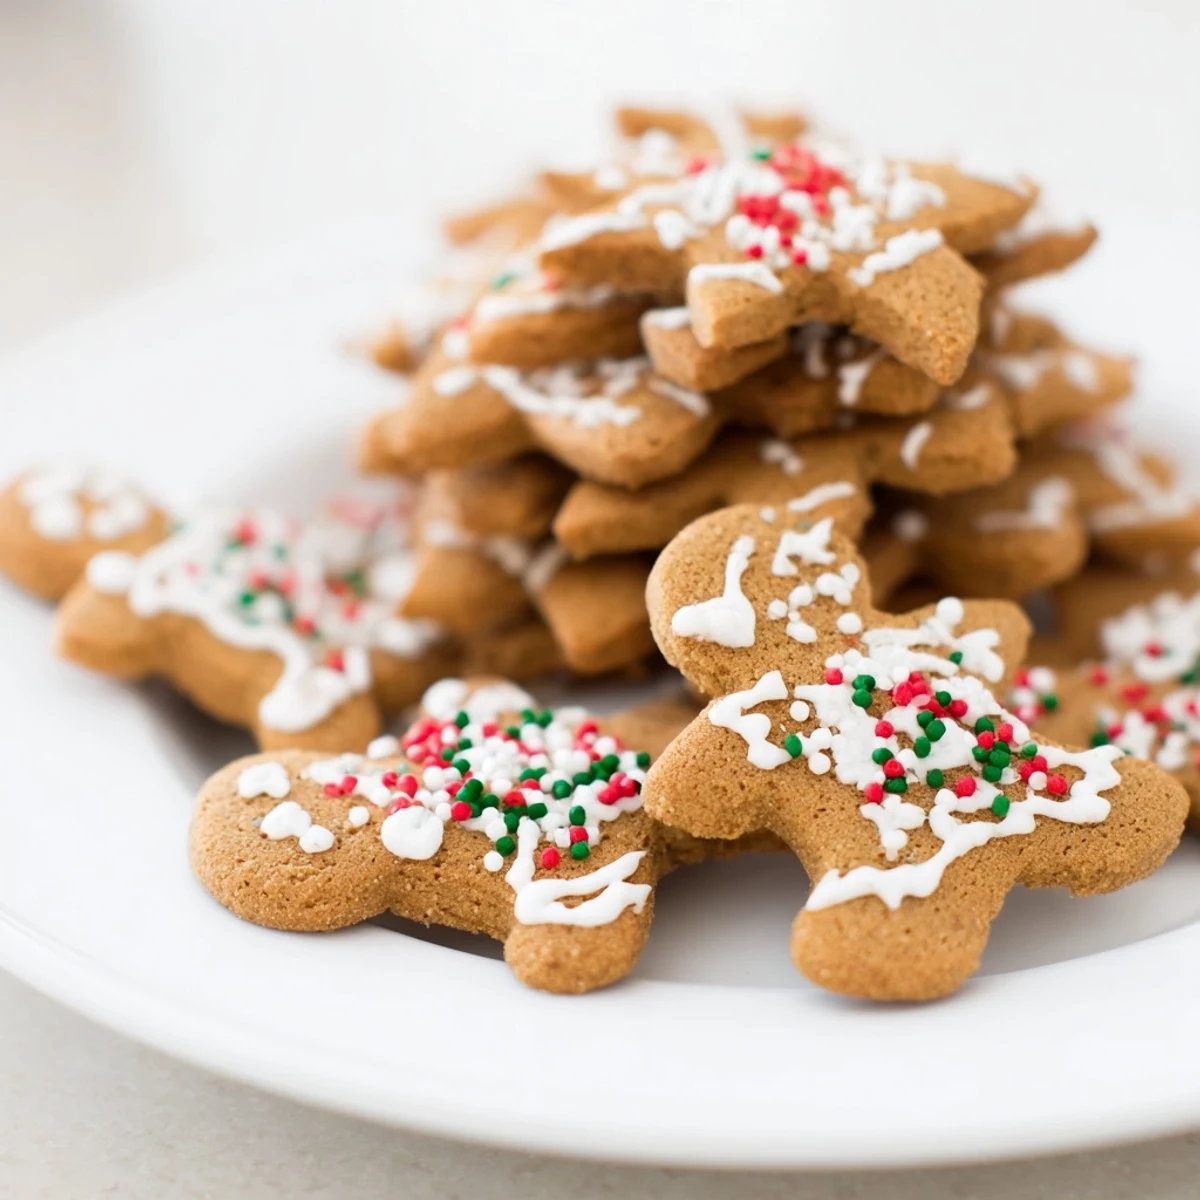
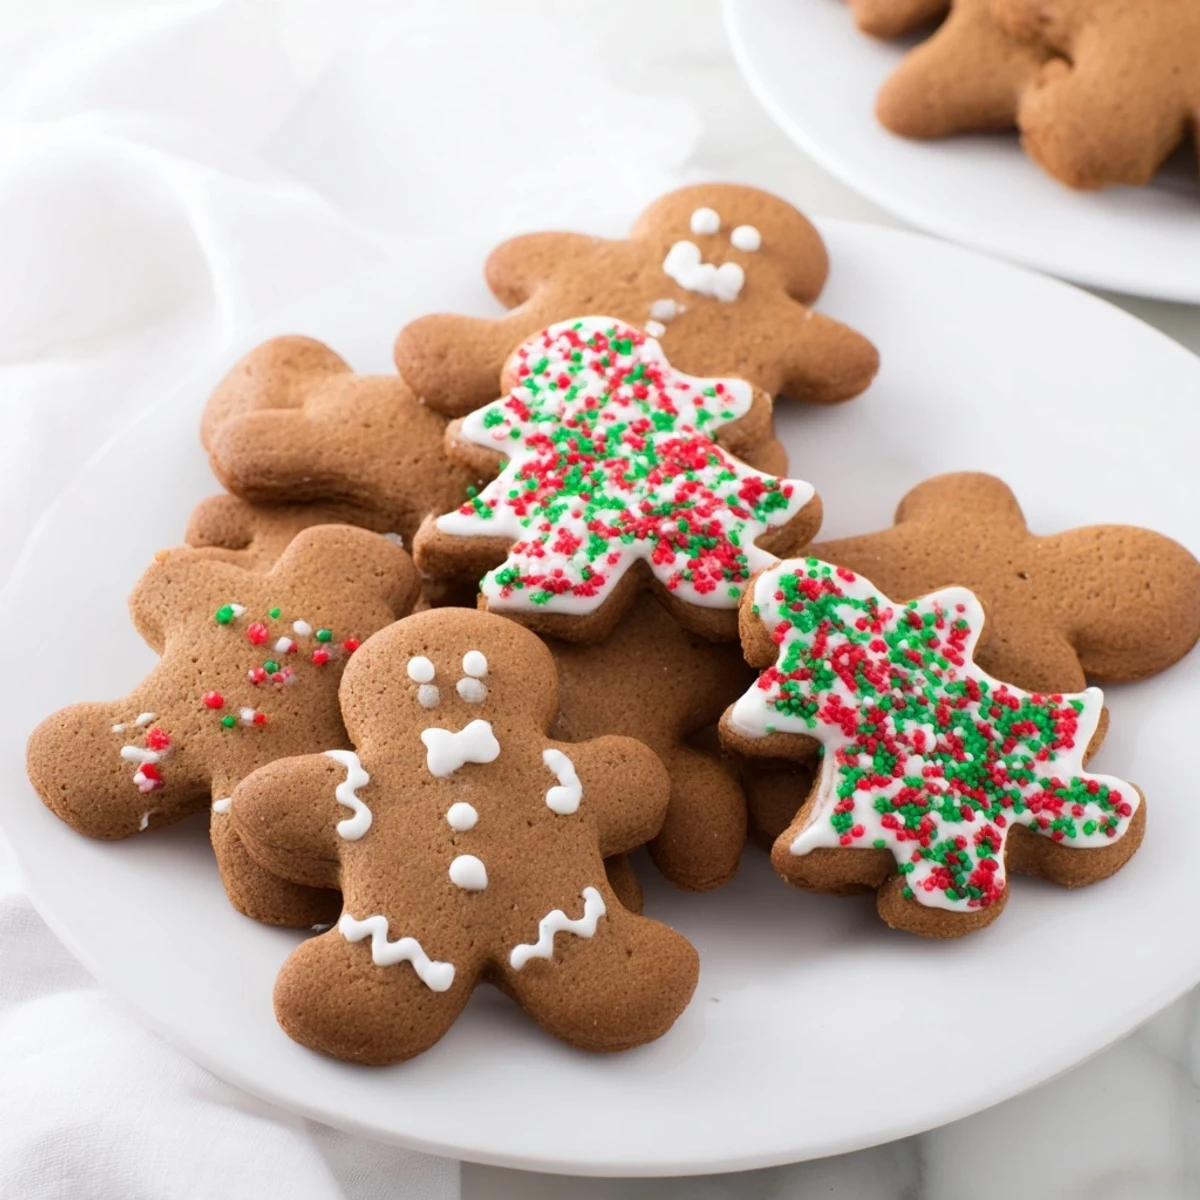
Save Create classic gingerbread cookies that hold their shape beautifully for decorating. These soft, spiced treats feature warming ginger, cinnamon, cloves, and nutmeg in a perfectly balanced dough. Chill the dough for easy rolling, cut into your favorite festive shapes, then decorate with simple icing and sprinkles. The dough can be made ahead and frozen for convenient holiday baking.
My apartment smelled like December for three days straight when I first attempted these cookies. I had moved into my first place that autumn and wanted something that felt like home, so I bought every spice in the gingerbread family and went to work. The first batch spread into amoeba shapes because I skipped the chilling step, but they tasted exactly like the holidays. Now I make these every December with my nieces, and weve learned that the ugliest cookies usually taste the best anyway.
Last year I hosted a cookie decorating party and set out bowls of sprinkles, edible pearls, and piping bags filled with royal icing. My friend Dave made a gingerbread man with a tiny top hat and mustache that looked suspiciously like our boss. We all laughed until we cried, and nobody could bring themselves to eat that particular cookie. The best part about these cut outs is how they bring people together around a table, hands covered in flour and icing, creating something silly and sweet together.
Ingredients
- All-purpose flour: Provides structure and the perfect chewy tender balance we want in decorated cookies
- Baking soda and baking powder: Work together to give just enough lift without spreading your shapes into unrecognizable blobs
- Ground ginger: The backbone of gingerbread flavor, use fresh for the best spicy kick
- Ground cinnamon: Adds warmth and rounds out the sharpness of the ginger
- Ground cloves and nutmeg: These deeper spices create that classic holiday aroma everyone recognizes immediately
- Salt: Enhances all the spices and prevents the cookies from tasting flat or overly sweet
- Unsalted butter: Softened properly, this creates the tender crumb and rich flavor base
- Dark brown sugar: The molasses content adds moisture and deep caramel notes
- Large egg: Binds everything together and adds structure
- Unsulphured molasses: The heart of gingerbread flavor, color, and chewiness
- Pure vanilla extract: Rounds out all the bold spices with sweet warmth
- Powdered sugar: Creates the smooth white canvas for your edible masterpieces
- Milk or water: Thins the icing to your perfect piping consistency
Instructions
- Whisk your dry spices together:
- In a medium bowl, combine the flour, baking soda, baking powder, ginger, cinnamon, cloves, nutmeg, and salt until evenly distributed. This step ensures every cookie has consistent spice distribution throughout.
- Cream the butter and sugar:
- Beat the softened butter and dark brown sugar on medium speed for about 2 minutes until the mixture looks pale and fluffy. Youll notice the texture change from grainy to almost like frosting.
- Add the wet ingredients:
- Mix in the egg, molasses, and vanilla extract until everything is incorporated and the batter looks smooth and glossy. The molasses will give the dough a beautiful deep brown color.
- Combine everything:
- Gradually add the dry ingredients on low speed, mixing just until a thick dough forms. Stop as soon as you no longer see visible flour to avoid tough cookies.
- Chill the dough:
- Divide into two disks, wrap tightly, and refrigerate for at least one hour or overnight. Cold dough holds its shape better and bakes up with crisp edges.
- Prep your workspace:
- Preheat your oven to 350°F and line baking sheets with parchment paper. Flour your counter and rolling pin lightly but generously.
- Roll and cut:
- Roll one portion to about 1/4 inch thickness and cut shapes, placing them one inch apart on the prepared sheets. Gather and reroll scraps only once to avoid tough cookies.
- Bake to perfection:
- Bake for 8 to 10 minutes until you see just the slightest hint of golden color on the edges. They might look slightly underbaked but will firm up as they cool.
- Cool completely:
- Let the cookies rest on the pan for 2 minutes before moving them to a wire rack. Warm cookies will melt your icing right off, so patience pays off here.
- Make the icing:
- Whisk powdered sugar with milk or water until smooth but thick enough to hold its shape. Test a line on a plate and adjust with more liquid or sugar as needed.
- Decorate your creations:
- Pipe or spread icing onto completely cooled cookies and add sprinkles while its still wet. Let everything set for at least an hour before stacking or storing.
 Save
Save My grandmother kept a tin of these cookies hidden in the back of her pantry, and finding it felt like discovering buried treasure. She taught me that the best gingerbread comes from patience, from letting the dough rest and the cookies cool completely before rushing to decorate them. Now whenever I smell ginger and molasses baking together, I am six years old again, standing on a chair at her counter, covered in flour and waiting for the timer to ding.
Make Ahead Magic
The dough actually improves after a day or two in the refrigerator as the spices meld and deepen. You can freeze the wrapped dough disks for up to three months, then thaw overnight in the fridge whenever the cookie mood strikes. Baked undecorated cookies freeze beautifully too, just layer them between parchment paper in an airtight container.
Decorating Like A Pro
Consistency is everything when it comes to icing, and I learned this the hard way after several batches of runny disasters. You want thick icing for outlining borders and slightly thinner icing for flooding the centers, like coloring inside the lines. Keep a small bowl of water nearby to adjust consistency as you work, and have fun with it because no gingerbread person is judging your artistic skills.
Perfecting Your Technique
Rolling dough evenly takes practice, and I still have batches where some cookies are thicker than others. Invest in rolling pin rings or use two stacked wooden spoons as guides on either side of your dough for uniform thickness every time. Rotate your dough frequently as you roll to prevent sticking, and work quickly because warm dough becomes sticky and difficult to handle.
- Chill your cut shapes on the baking sheet for 10 minutes before baking for even sharper edges
- Use a thin metal spatula to transfer cut shapes without distorting them
- Let finished decorated cookies dry overnight before stacking or wrapping them
 Save
Save May your kitchen smell like spices and your hands be sticky with icing. These cookies are meant to be shared, imperfect and full of love.
Recipe FAQs
- → How long should I chill the dough?
-
Refrigerate the dough for at least 1 hour before rolling. This firms the butter and makes the dough easier to work with, preventing shapes from spreading while baking.
- → Can I freeze the dough?
-
Yes, wrap the dough disks tightly in plastic wrap and freeze for up to 3 months. Thaw overnight in the refrigerator before rolling and cutting.
- → Why are my cookies spreading too much?
-
Spreading usually occurs when the dough is too warm. Ensure proper chilling time and work with one portion at a time while keeping the other refrigerated.
- → How do I make the icing consistency right?
-
Start with 2 tablespoons of milk, adding more gradually until the icing is smooth but thick enough to hold its shape. It should flow slowly off a spoon.
- → What's the best way to store decorated cookies?
-
Once the icing has completely set, store cookies in an airtight container at room temperature for up to 1 week. Place parchment paper between layers to prevent sticking.
- → Can I make these without a mixer?
-
Yes, you can cream the butter and sugar by hand with a sturdy wooden spoon, though it will take more effort and time to achieve the proper light and creamy consistency.