 Save
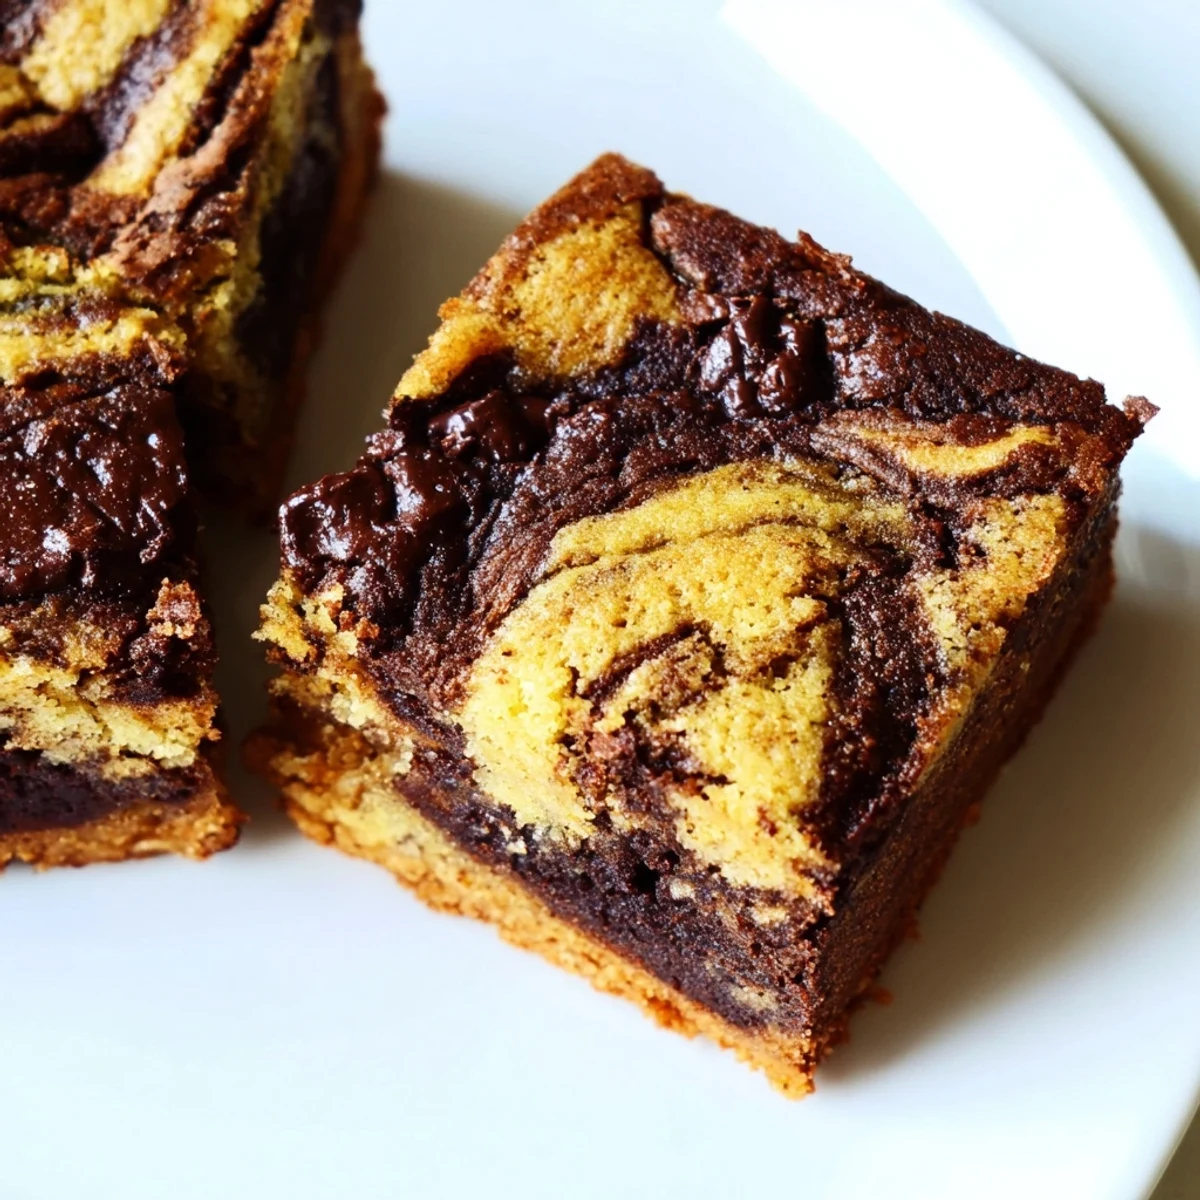
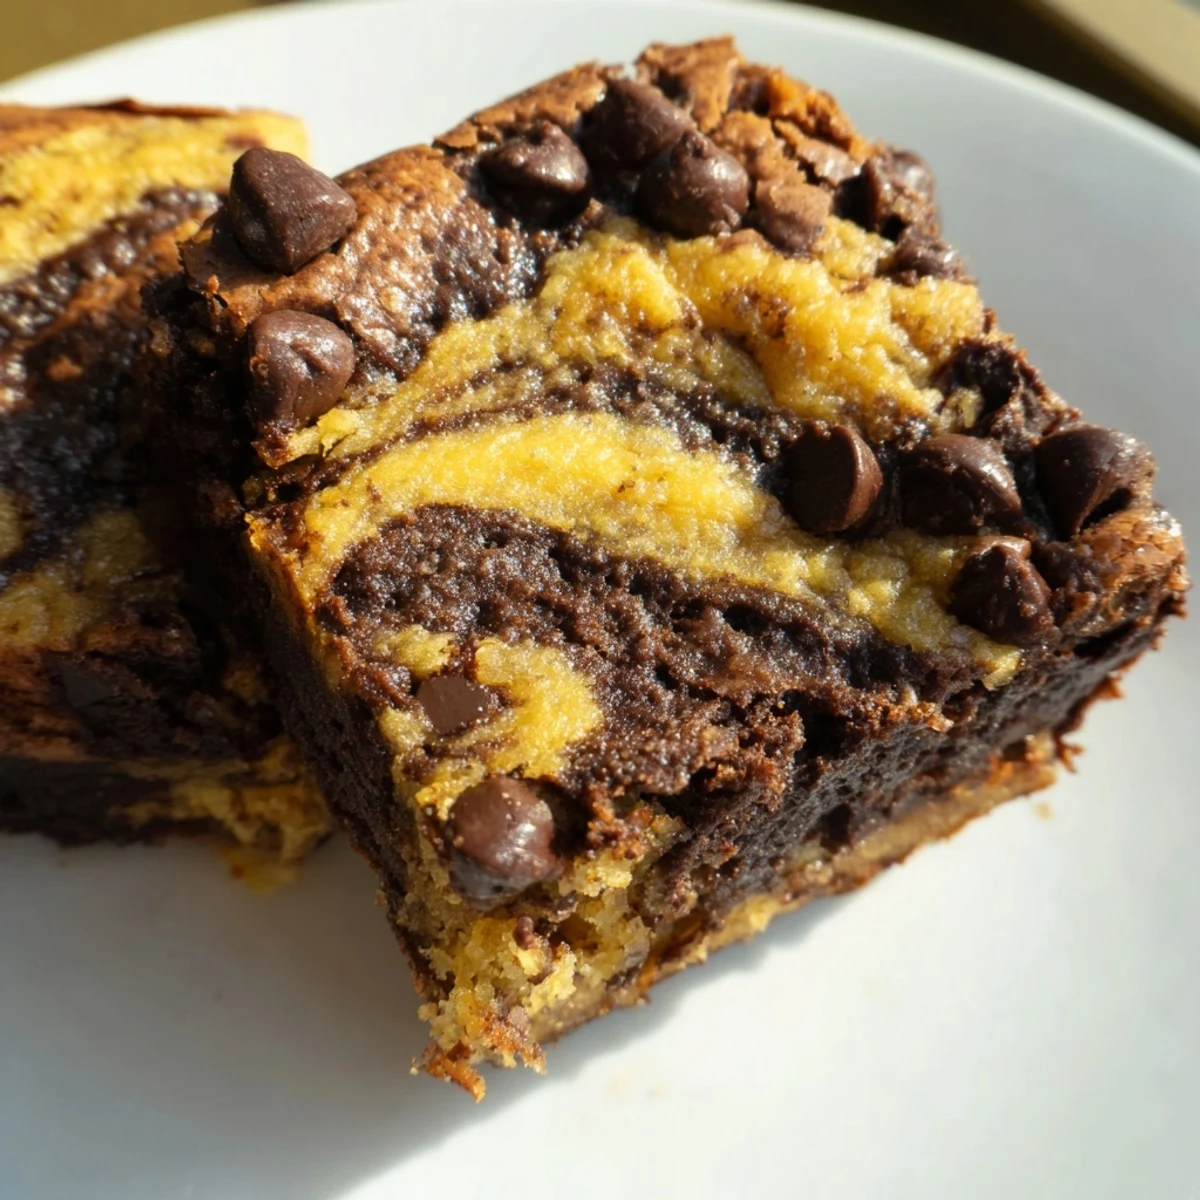
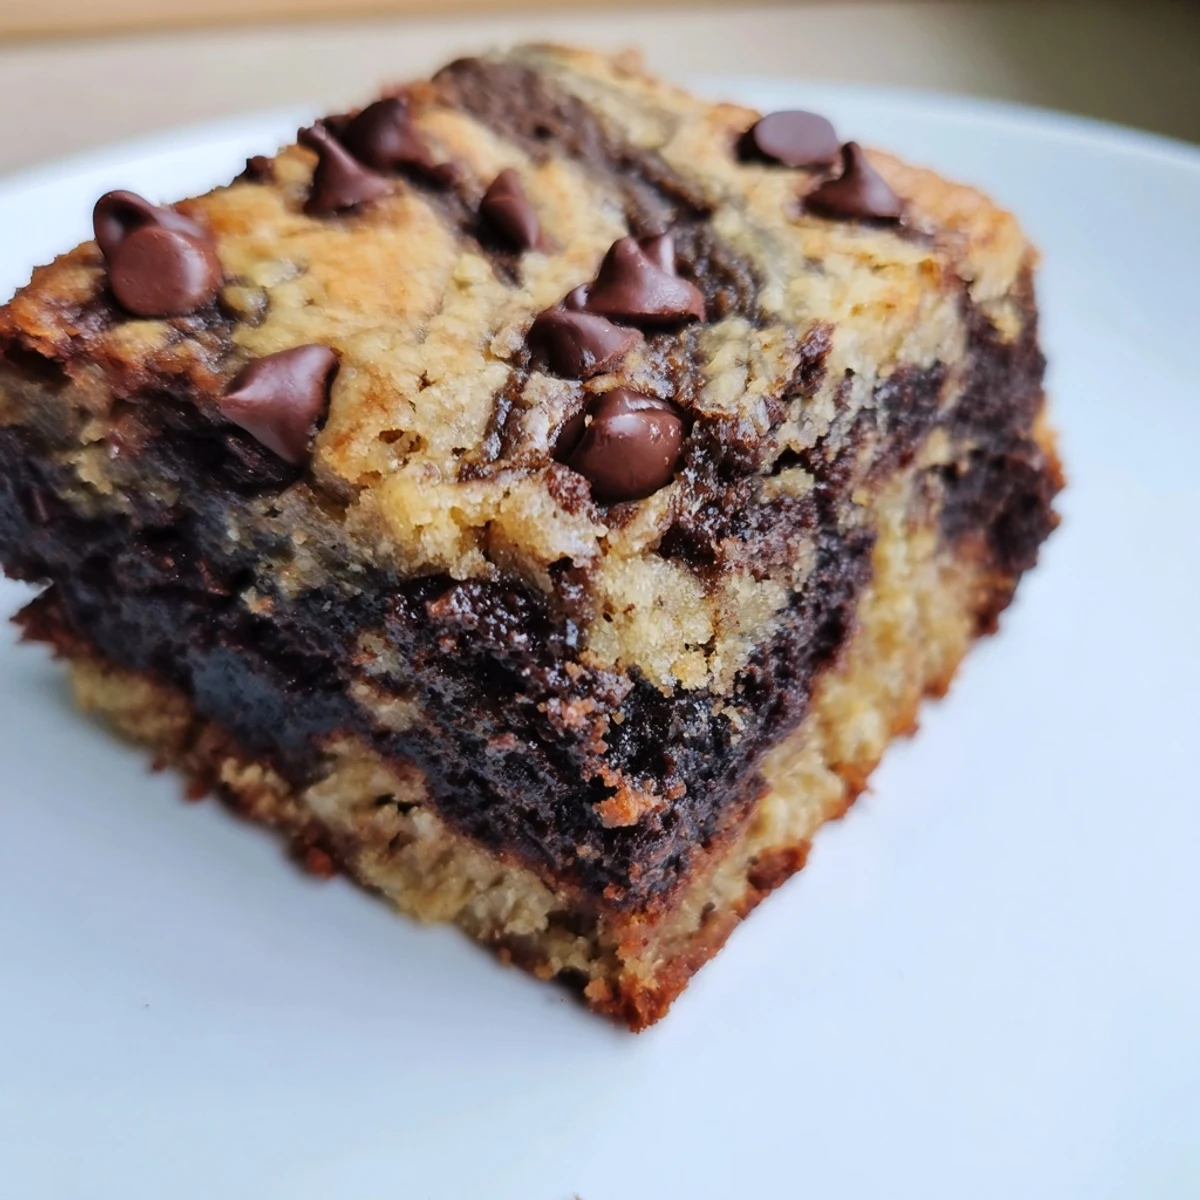
Save These indulgent bars combine the comforting sweetness of ripe banana bread with the fudgy richness of chocolate brownies. The marbled swirl creates a beautiful presentation while delivering the best of both worlds in every bite. Ready in just 45 minutes, this easy dessert yields 16 generous portions perfect for gatherings, potlucks, or afternoon treats.
Last Sunday, my kitchen smelled like a bakery crossed with a chocolate factory. Those spotted bananas on the counter had been taunting me all week, and instead of reaching for the usual loaf pan, I grabbed my brownie dish on a whim. Best accidental decision ever.
My sister claimed she hated banana anything until she tried these. She texted me at 11 PM that same night asking for the recipe, which is basically the highest compliment I can imagine receiving.
Ingredients
- Ripe bananas: The more spotted and freckled they are, the sweeter and more flavorful your banana layer becomes
- Unsalted butter, melted: Melting it yourself ensures its perfectly incorporated and saves you from softening butter time
- Unsweetened cocoa powder: This is what gives the brownie layer its intense chocolate flavor without making it cloyingly sweet
- Chocolate chips: Semi-sweet strikes the perfect balance but Ive used dark chocolate when I needed something extra intense
Instructions
- Prep your pan:
- Lining that 8x8 inch pan with parchment paper is non-negotiable unless you want to wrestle stuck bars out later. Leave those wings of overhang hanging off the sides like a lifesaving handle.
- Make the banana batter:
- Mash those bananas until theyre mostly smooth but still have some small chunks for texture. Whisk in the sugar, melted butter, egg, and vanilla until everything looks glossy and combined.
- Combine the dry ingredients:
- Add the flour, baking powder, baking soda, and salt to the banana mixture. Stir until you just dont see flour anymore. Overmixing here makes for tough bread-like texture instead of tender cake.
- Whisk the brownie base:
- In a separate bowl, beat that melted butter and sugar until it looks slightly lighter. Add the eggs and vanilla and keep whisking until the mixture turns glossy and almost pudding-like.
- Add the chocolate:
- Sift in your cocoa powder, flour, and salt to avoid any stubborn lumps. Fold everything together gently, then stir in those chocolate chips last so they stay intact.
- Layer it up:
- Spread half the banana batter in the bottom of your prepared pan. Drop spoonfuls of brownie batter over it, then dollop the rest of the banana batter on top like polka dots.
- Create the swirl:
- Run a knife through the batters in a figure-eight pattern, but dont go crazy. Three or four passes is enough to marble them beautifully without turning everything into a muddy brown mess.
- Bake to perfection:
- Let them bake for 28 to 32 minutes until a toothpick comes out with a few moist crumbs clinging to it. Underbaked is better than overbaked here.
 Save
Save These disappeared from my office breakroom in under twenty minutes. The best part was watching people try to figure out what they were eating banana bread or brownies before finally deciding it didnt matter because they were delicious.
Getting That Perfect Marble
The key to a pretty swirl is alternating your dollops and not overworking the knife. Think gentle figure-eights rather than aggressive stirring. You want distinct ribbons of both batters visible.
Make It Your Own
I have added chopped walnuts to the banana layer and sea salt on top of the brownie batter before baking. That salty crunch against the sweet chocolate is something else entirely.
Serving Suggestions
Warm these for about 15 seconds in the microwave and serve with vanilla ice cream melting over the top. That contrast between hot, fudgy chocolate and cold, creamy ice cream is absolutely worth the extra dish.
- These freeze beautifully if you can stop yourself from eating them all first
- Store them at room temperature for up to three days in an airtight container
- They actually get better on day two as the flavors meld together
 Save
Save Hope your kitchen ends up smelling as amazing as mine did. Happy baking.
Recipe FAQs
- → How do I know when the bars are done baking?
-
Insert a toothpick near the center of the pan. It should come out with a few moist crumbs clinging to it, but not wet batter. The edges should be set and slightly pulling away from the pan sides.
- → Can I use frozen bananas?
-
Yes, frozen bananas work perfectly. Thaw them completely, drain any excess liquid, then mash. They'll actually be sweeter and more flavorful, making your bars even more delicious.
- → How should I store these bars?
-
Store in an airtight container at room temperature for up to 3 days. For longer freshness, refrigerate for up to a week. They also freeze well—wrap individually and freeze for up to 3 months.
- → Can I make these gluten-free?
-
Absolutely. Substitute the all-purpose flour with a 1:1 gluten-free flour blend. Ensure your baking powder and other ingredients are certified gluten-free for the best results.
- → Why did my bars turn out dry?
-
Overbaking is the most common cause. Check your bars at the 28-minute mark and use the toothpick test. Also ensure your bananas are properly mashed and not over-measured with flour.
- → Can I add mix-ins like nuts?
-
Certainly. Fold ½ cup chopped walnuts, pecans, or chocolate chunks into either layer before swirling. Nuts add wonderful texture and complement the banana-chocolate flavors beautifully.